Deer Drawing: Master The Art Of Capturing Nature's Grace
Embarking on the journey of deer drawing offers a unique opportunity to connect with nature's elegance and artistic expression. Stately deer are symbols of elegance and the great outdoors in many parts of the world, making them a captivating subject for artists of all levels. Whether you're a seasoned illustrator or just picking up a pencil, the intricate beauty of deer provides endless inspiration and a rewarding challenge.
This comprehensive guide is designed to equip you with the knowledge and techniques needed to create stunning deer illustrations, from realistic renditions to charmingly simplified styles. We'll explore everything from fundamental anatomy to advanced shading, ensuring your deer drawing truly comes to life on paper. Get ready to transform your artistic vision into captivating wildlife art.
Table of Contents
- The Allure of Deer: Why Draw Them?
- Essential Tools for Your Deer Drawing Journey
- Demystifying Deer Anatomy: Building Your Foundation
- Step-by-Step Deer Drawing: From Sketch to Detail
- Adding Life to Your Deer Drawing: Texture, Color, and Shading
- Beyond Realism: Exploring Different Deer Drawing Styles
- Tips for Elevating Your Deer Drawing Skills
- Practice Makes Perfect: Utilizing Drawing Guides and Inspiration
The Allure of Deer: Why Draw Them?
Deer, with their graceful movements, keen senses, and majestic antlers, have captivated human imagination for centuries. They are often seen as symbols of peace, agility, and connection to the wilderness. Before we dive into the technical aspects of deer drawing, let's appreciate some fascinating facts about these incredible creatures that might spark your artistic vision, especially for kids and aspiring wildlife artists.
Did you know there are 43 different species of deer? From the tiny Pudu to the towering Moose, each species presents unique anatomical features and habitats. For instance, the White-tailed Deer, a common subject in many tutorials, is native to North and South America and is renowned for its speed and adaptability. Deer have excellent senses of smell, hearing, and vision and can run swiftly through forests and fields, making them a dynamic subject to capture in art. Understanding these characteristics can add depth and authenticity to your deer drawing, whether you're aiming for realism or a more stylized approach. The challenge of rendering their delicate features, powerful musculature, and intricate antlers makes a deer drawing a truly rewarding artistic endeavor.
Essential Tools for Your Deer Drawing Journey
Just like any craft, having the right tools can significantly enhance your deer drawing experience. You don't need an elaborate art studio to get started; a few basic items will suffice. Here are the tools I recommend for beginning your deer drawing adventure:
- Pencils: A range of graphite pencils (e.g., HB for sketching, 2B-4B for darker lines and shading, 2H for light construction lines) is ideal. Graphite pencils offer versatility for varying strokes and a more sketchy appearance, allowing you to build up your drawing gradually.
- Paper: Choose drawing paper that can withstand erasing and layering. A smooth or slightly textured paper works well for detailed work.
- Eraser: A kneaded eraser is excellent for lifting graphite without damaging the paper, and a vinyl eraser is good for precise clean-ups.
- Blender (Optional): A blending stump or tortillon can help smooth out shading and create seamless transitions.
- Colored Pencils or Pens (Optional): Once you're comfortable with the form, you might want to add color. Colored pencils offer control and blendability, while marker pens (like Luxor or similar brands) can give vibrant, bold results for a more illustrative style.
- Reference Images: High-quality photos of deer in various poses are invaluable. They help you understand anatomy, fur patterns, and light interaction.
Remember, the tools are merely extensions of your hand and eye. The most important "tool" is your willingness to practice and experiment. Don't feel pressured to buy everything at once; start with the basics and expand your kit as your skills and interests grow.
- Lauren Lavera
- House Passes Bill Limiting Judges
- Candice Michelle
- Delta Flight 2417 Ceiling Collapse
- Virginia Giuffre
Demystifying Deer Anatomy: Building Your Foundation
Understanding the underlying structure of a deer is crucial for creating a realistic and believable deer drawing. Even if your goal is a simplified or cartoony style, a basic grasp of anatomy will prevent your deer from looking stiff or disproportionate. We'll be focusing on a male deer with antlers for this tutorial, but the principles apply to does and fawns as well.
The Basic Shapes: Torso, Head, and Limbs
Think of a deer as a collection of simple geometric shapes. This approach, often used in professional art schools, simplifies complex forms into manageable components. Well, some things look complicated and some look extremely simple, just like an eggplant. Let’s imagine that this eggplant is our deer’s torso. This initial "eggplant" shape will serve as the core of the deer's body, providing a foundational volume.
- Torso: Start with a large oval or an "eggplant" shape for the main body. This will be the largest component and dictate the overall posture.
- Head: For the head, begin with a smaller oval or a rounded rectangle. Connect it to the torso with a curved line for the neck.
- Legs: Break down the legs into segments using cylinders or straight lines. Think of the upper leg, lower leg, and foot. Deer legs are slender and powerful, with distinct joints.
- Antlers (for bucks): For antlers, start with a basic "Y" shape extending from the head, then build out the tines.
These initial construction lines are your roadmap. They don't need to be perfect, as they will be erased later. Their purpose is to establish the correct proportions and pose before you add details. This method makes the daunting task of a realistic deer drawing much more approachable.
Understanding Proportions for Realistic Deer Drawing
Proportion is key to a believable deer drawing. Even a slight miscalculation can make your deer look unnatural. Here are some general guidelines for deer proportions:
- Head to Body Ratio: A deer's head is relatively small compared to its body. Roughly, the head length might be about 1/4 to 1/5 of the torso length.
- Leg Length: Deer have long, slender legs. The total length of the leg from shoulder/hip to hoof can be roughly equal to or slightly longer than the torso height.
- Neck Length: The neck is typically long and graceful, connecting the head smoothly to the body.
- Antler Size: Antlers vary greatly by species, age, and individual. For a male deer with antlers, ensure they are proportionate to the head and body size, not too small or overwhelmingly large.
Using these guidelines and constantly comparing your drawing to your reference image will help you maintain accurate proportions. Don't be afraid to lightly sketch and adjust until you feel the overall form is correct. This foundational work will pay dividends in the final realistic deer drawing.
Step-by-Step Deer Drawing: From Sketch to Detail
Now that we understand the foundational anatomy and have our tools ready, let's dive into the actual drawing process. This tutorial will guide you through creating a realistic deer from scratch. Remember, you can pause the video after each step (if this were a video tutorial) and follow the instructions on the website for more details and tips. For your convenience, we created a printable “drawing a deer” guide for you to practice (download it here, though not provided in this text). Our printable drawing guide (optional), pencil or black marker, will be your companions for this step-by-step deer drawing instruction.
Constructing the Initial Outline
The initial outline is where you lay down the basic structure using light construction lines. These lines are meant to be guides, not final strokes.
- Step 1: Start by drawing the head of the deer as shown. Begin with a simple oval or rounded rectangle for the head, then sketch a curved line for the neck connecting to the body.
- Step 2: Sketch the Torso. Imagine that this eggplant is our deer’s torso. Draw a large oval or an "eggplant" shape for the body, making sure it's proportionate to the head and neck you just drew.
- Step 3: Map out the Legs. Use simple lines or cylinders to indicate the position and length of the four legs. Pay attention to the joints – the knee and hock – as they are crucial for natural posture.
- Step 4: Place the Antlers (for a buck). For a male deer, lightly sketch the basic "Y" shape or the main beams of the antlers extending from the top of the head.
At this stage, your deer drawing will look very rudimentary, almost like a stick figure or a series of blobs. This is perfectly normal and desired. It allows you to make corrections easily before committing to more defined lines. This is the skeleton upon which you will build your realistic deer.
Refining Features: Head, Antlers, and Legs
Once your construction lines are in place, it's time to begin to add a more realistic outline to your deer sketch with the aid of your construction lines. Use slightly darker, more confident lines for this stage.
- Step 5: Outline the Head and Face. Refine the head shape, adding subtle curves for the muzzle, forehead, and cheeks. Lightly mark the placement of the eyes, nose, and mouth. Deer have delicate, expressive faces, so pay attention to these details.
- Step 6: Develop the Antlers. Start by outlining the antlers with solid lines surrounding the construction lines. Build out the tines (points) and add texture to suggest their rough, bony surface. Remember, antlers are unique to each buck, so feel free to add your own variations based on your reference.
- Step 7: Define the Body and Legs. Follow the steps to sketch the body, legs, head, antlers, and details of a red deer (or your chosen species). Use your construction lines as a guide, but now add the musculature and curves that define the deer's powerful yet elegant form. Pay close attention to the joints, making them look natural and capable of movement. For the legs, ensure they taper down to the hooves gracefully.
- Step 8: Add the Ears and Tail. Deer ears are relatively large and mobile, capable of swiveling to pick up sounds. Sketch their shape and position. Add a small, tufted tail, typically held close to the body.
At this point, you should have a clear, refined line drawing of your deer. Erase any visible construction lines that are no longer needed. In just a few minutes, you’ll have a simple and easy deer drawing that forms the basis for further refinement.
Adding Life to Your Deer Drawing: Texture, Color, and Shading
A line drawing is a good start, but adding texture, color, and shading is what truly brings your deer illustration to life. This is where your deer drawing transitions from a flat representation to a three-dimensional form.
Follow the steps to draw the body, head, antlers, legs, and add texture, color, and shading to your deer illustration:
- Texture (Fur): Deer fur is short and dense, but it has a distinct direction. Use short, light strokes following the direction of the fur growth to create a subtle texture. Don't draw individual hairs; instead, suggest the overall texture. Pay attention to areas where the fur might be thicker or thinner.
- Shading (Form and Volume): Shading is crucial for giving your deer drawing depth. Identify your light source and apply darker tones to areas that are in shadow and lighter tones to areas hit by light. Use cross-hatching, blending, or stippling techniques to build up your values. Focus on the contours of the muscles, the roundness of the body, and the texture of the antlers. This helps define the form of the deer.
- Color (Optional): If you're using colored pencils or pens, begin by laying down a light base color for the main body. Then, layer darker shades to build up shadows and add warmer tones for highlights. Deer coats vary from reddish-brown to grayish-brown, often with lighter undersides. For a red deer, for instance, you'd use a rich reddish-brown for the main coat, with lighter tones on the belly and inner legs.
- Details: Add final details like the glint in the eye, the texture on the nose, and subtle variations in fur color. These small touches can make a big difference in the realism and appeal of your deer drawing.
Remember that patience is key when adding these layers. Don't rush the process; build up your values and colors gradually for a smoother, more professional finish.
Beyond Realism: Exploring Different Deer Drawing Styles
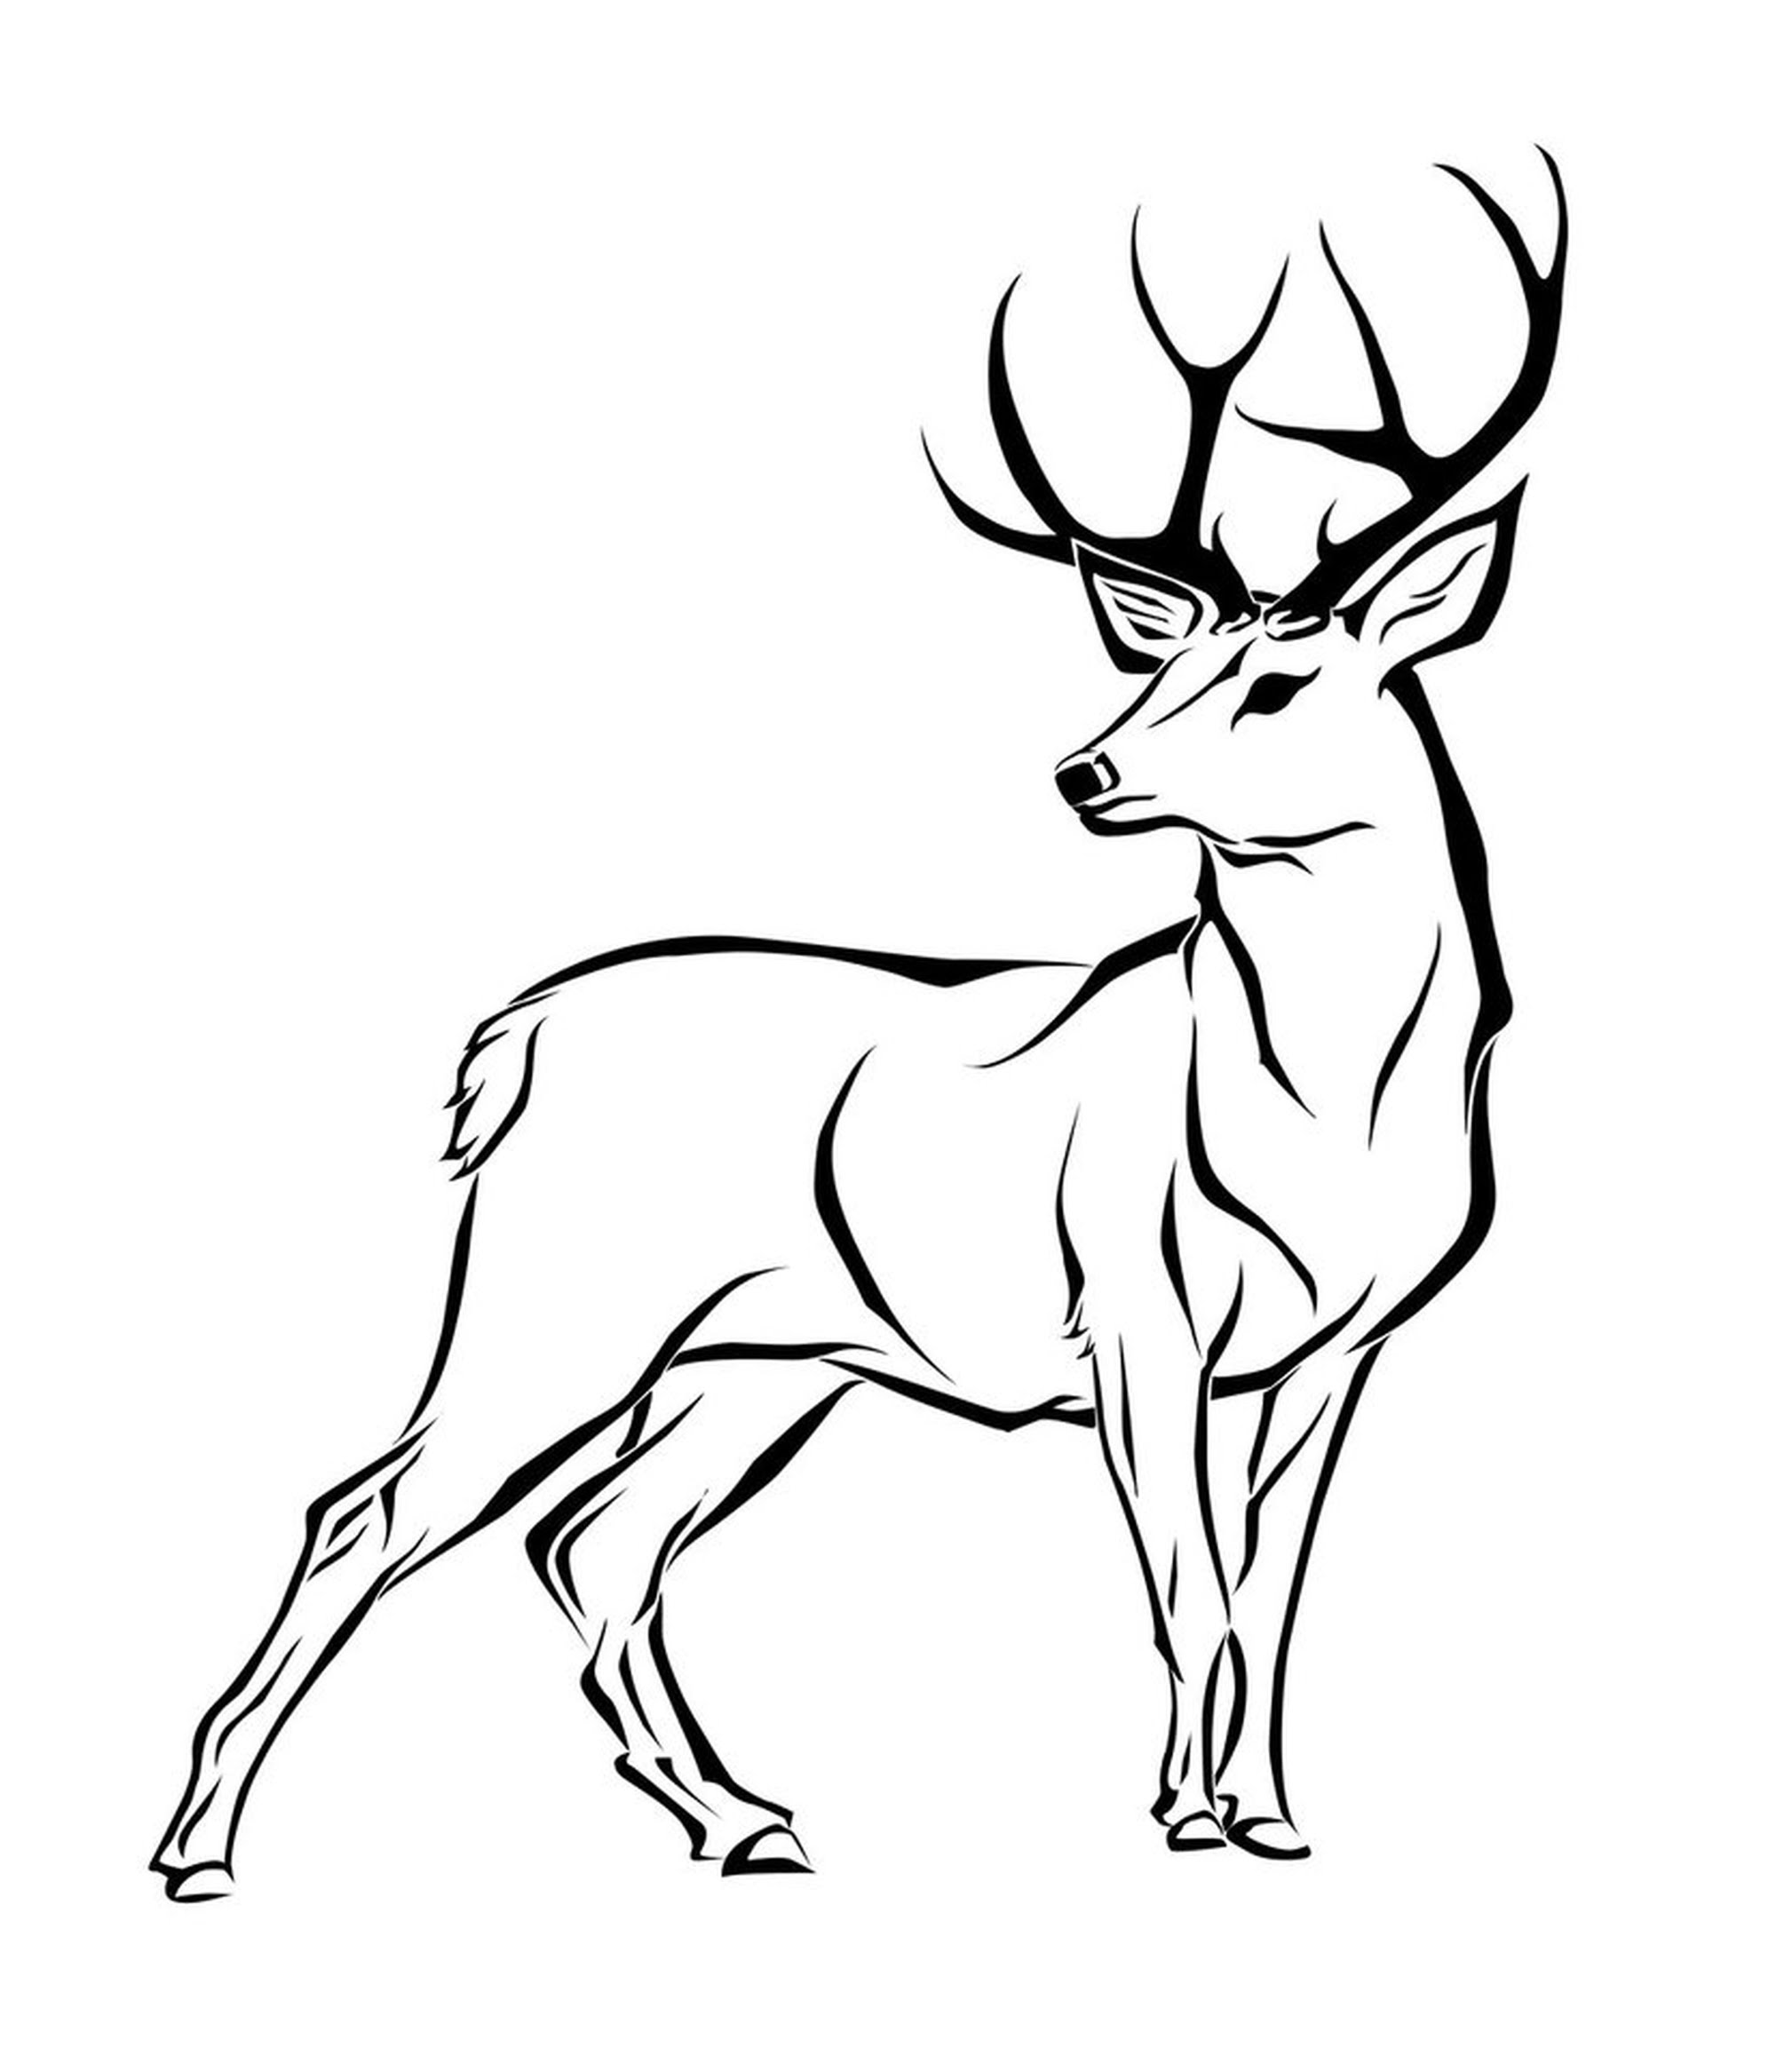
While learning how to draw a realistic deer from scratch with this tutorial is a fantastic foundation, the world of art offers endless possibilities for stylistic expression. The deer drawing we created in this guide is somewhere between a realistic and cartoony style. It definitely leans more to the realistic side, however, so you could simplify the style a bit to make it easier or explore entirely different aesthetics.
Simplifying for Cartoons and Stylized Art
If you're looking for a simple and easy deer drawing, or want to create something more whimsical, simplifying the style is a great approach. Learn how to draw a cute deer, fawn, doe or buck in an easy step by step simple cartoon animal drawing format. This is often seen in popular hashtags like #drawsocuteanimal and #deerdrawing, where the focus is on charm and expressiveness rather than strict anatomical accuracy.
- Exaggeration: Cartoon styles often exaggerate certain features, like large eyes, tiny noses, or oversized antlers, to convey personality or cuteness.
- Simplified Shapes: Instead of complex musculature, use very basic geometric shapes (circles, ovals, rectangles) to represent the body parts. Think of a very round body and simple stick-like legs for a super cute fawn.
- Bold Outlines: Cartoons often feature strong, consistent outlines that define the form, rather than subtle shifts in value.
- Limited Color Palettes: Use fewer colors, often bright and saturated, to create a cheerful and appealing look.
Learning how to create a realistic and adorable deer drawing with this easy tutorial means you can adapt the core principles to any style. Once you understand the fundamentals, you have the freedom to experiment and develop your unique artistic voice. Don't be afraid to try drawing a different deer species in a simplified manner, or even combine elements of realism with cartoonish charm.
Tips for Elevating Your Deer Drawing Skills
Beyond the step-by-step instructions, there are general principles that can significantly improve your deer drawing and overall artistic abilities. Here are 3 more tips to make your deer drawing easy and more impactful:
- Observe and Sketch from Life (or High-Quality References): The best way to understand an animal's form and movement is to observe it. If you can't see live deer, spend time studying high-quality photographs or even videos. Pay attention to how light falls on their fur, the subtle shifts in their musculature as they move, and the unique expressions in their eyes. The more you observe, the more authentic your deer drawing will become.
- Practice Gesture Drawing: Gesture drawing is about capturing the essence of a pose quickly, focusing on movement and flow
- Shilo Sanders Draft
- Dave Bautista Movies
- Imagination Stage
- Nancy Kulp
- Shuckums Oyster Pub Seafood Grill

Deer Pencil Drawings at PaintingValley.com | Explore collection of Deer
Deer Drawing at GetDrawings | Free download

How to Draw a Deer - HelloArtsy
