Unleash Your Inner Artist: The Ultimate Guide To Tiger Drawing
Embarking on the journey to bring a tiger to life through art can be just as thrilling as spotting one in the wild. The sheer power, elegance, and distinctive beauty of this majestic creature make it a captivating subject for any artist. Whether you're a seasoned illustrator or just picking up a pencil for the first time, the art of tiger drawing offers a rewarding challenge and a chance to connect with nature's most magnificent feline.
Drawing is a dance between the eye and the hand, a craft where each stroke adds to the symphony of shapes and textures. This comprehensive guide will walk you through everything you need to know, from the basic shapes that form the foundation of your tiger to the intricate details that breathe life into your illustration. Get ready to explore different styles, master essential techniques, and discover the joy of creating your very own striped masterpiece.
Table of Contents
- Why the Majestic Tiger Captivates Artists: The Allure of Tiger Drawing
- Essential Tools for Your Tiger Drawing Journey
- Starting Simple: Easy Tiger Drawing for Beginners
- Mastering the Stripes: The Signature of Any Tiger Drawing
- Bringing Life to Your Canvas: Realistic Tiger Drawing Techniques
- Exploring Different Styles: Cartoon vs. Realistic Tiger Drawing
- Beyond the Basics: Poses, Expressions, and Advanced Tiger Drawing
- Tips and Tricks for a Successful Tiger Drawing Experience
- Conclusion: Your Roaring Artistic Journey Continues
Why the Majestic Tiger Captivates Artists: The Allure of Tiger Drawing
The tiger is arguably the most prominent member of the cat family, rivaled only by the lion in strength and ferocity. Their distinctive stripes, powerful physique, and piercing gaze make them an incredibly appealing subject for artists across all skill levels. Beyond their physical attributes, tigers symbolize strength, courage, and beauty in many cultures, adding a layer of depth to any tiger drawing. For artists, the challenge lies not just in replicating their appearance, but in capturing their essence. The way light plays on their fur, the subtle shifts in their musculature as they move, and the unique pattern of their stripes all contribute to a complex yet rewarding artistic endeavor. Whether you're aiming for a playful cartoon tiger or a hyper-realistic depiction, the journey of drawing a tiger offers endless opportunities for learning and creative expression. It's a chance to study anatomy, light, shadow, and texture, all while celebrating one of nature's most magnificent creatures.Essential Tools for Your Tiger Drawing Journey
Before you dive into the exciting world of tiger drawing, gathering the right materials is crucial. While you can certainly start with just a pencil and paper, having a few specific tools can significantly enhance your experience and the quality of your artwork. * **Paper:** Opt for a good quality drawing paper. Anything from a smooth bristol board to a slightly textured sketch paper will work. The key is that it can withstand erasing and layering without tearing or pilling. * **Pencils:** A range of graphite pencils is highly recommended. * **4H Graphite Pencil:** This hard lead pencil is perfect for sketching lightly. As suggested in many tutorials, including "How to draw a realistic tiger step by step step 1," using a 4H pencil allows you to lay down your initial guide lines and basic shapes without leaving deep indentations. These lines are easily erased later without damaging the paper. * **2B or Softer Pencils (4B, 6B, 8B):** These softer leads are essential for creating darker lines, adding shading, and building up rich tones for fur, shadows, and details. They allow for a wider range of values, which is critical for making your tiger illustration look three-dimensional and realistic. * **Eraser:** A good quality kneaded eraser or a vinyl eraser is indispensable. Kneaded erasers are great for lifting graphite gently without smudging, while vinyl erasers are effective for precise clean-ups. * **Reference Images:** This is perhaps the most important "tool." As any experienced artist will tell you, drawing from life or high-quality reference images is paramount. Gather a variety of tiger photos showing different poses, expressions, and lighting conditions. Pay attention to their anatomy, the flow of their fur, and the unique patterns of their stripes. A picture of a tiger blissfully lounging in a cozy hammock, for instance, can inspire a unique and relaxed pose, while a close-up of a tiger's face can help you understand the intricacies of its eyes, nose, and whiskers. Having these materials ready will set you up for a smooth and enjoyable tiger drawing experience.Starting Simple: Easy Tiger Drawing for Beginners
For those just beginning their artistic journey, learning how to draw a tiger easy, step by step, is the best approach. Break down the complex form of a tiger into manageable, simple steps. This method builds confidence and helps you understand the underlying structure before diving into intricate details. Many tutorials, like "Learn how to draw a tiger in 10 easy steps with this illustrated guide," emphasize this simplified process.Building Blocks: Basic Shapes for Your Tiger
Every complex drawing begins with simple forms. This principle is fundamental to drawing anything, especially animals. * **Head:** Start by sketching a large circle for the tiger's head. Within that, draw another smaller circle to serve as a guide for the muzzle area. This establishes the basic proportion and angle of the head. * **Body:** For the main body, you can use a large oval for the chest/shoulder area and another for the hindquarters. * **Connecting Forms:** As one tutorial suggests, "First you draw the tiger as a stick figure." To do this, connect the upper part of the head with the upper part of the shoulder oval, from which the back line flows sweepingly over the buttocks into the long curved tail. This initial stick figure or basic shape construction helps you map out the tiger's pose and overall anatomy before committing to details.From Sketch to Outline: Your First Tiger Steps
Once your basic shapes are lightly sketched with your 4H pencil, it's time to refine them into an outline. * **Head Refinement:** "First, draw a furry rounded shape to outline the tiger’s head." Use curved lines that meet at jagged points to outline its furry rough edges, giving it that characteristic wild look. * **Facial Features:** * "Next, draw two oval shapes for the eyes." Pay attention to their placement and angle to convey emotion. * "Now, create an oval for the nose." "Add two circles attached to both sides of the nose" for the nostrils. * Then draw its mouth, whiskers, and teeth using curved lines. Even for a cartoon tiger outline, these features are key to giving it character. * **Body Outline:** Connect your body shapes with fluid, curved lines to form the torso, legs, and tail. Remember that tigers are muscular, so hint at the underlying form even in a simple outline. This foundational stage is crucial. It's where you establish the pose, proportions, and general flow of your tiger. Don't be afraid to erase and redraw until you're satisfied with the basic structure.Mastering the Stripes: The Signature of Any Tiger Drawing
Tigers are known for their distinctive stripes, which are as unique as human fingerprints. These stripes are not just random lines; they follow the contours of the tiger's body, emphasizing its musculature and form. Mastering them is key to a convincing tiger drawing. * **Observe and Understand:** Look closely at reference images. Notice how the stripes vary in width, length, and shape. They are generally vertical on the body and limbs, but they curve and adapt to the underlying anatomy. On the face, they radiate outwards from the eyes and nose. * **Follow the Form:** When drawing stripes, imagine them wrapping around the tiger's three-dimensional form. They should curve over the shoulders, around the legs, and along the tail, giving the impression of depth. Avoid drawing them as flat, two-dimensional lines. * **Variety is Key:** Some stripes are thick and bold, others thin and broken. Introduce this variety to make your tiger look more natural and less like a pattern. * **Layering:** For a realistic effect, you might sketch the general direction of the stripes lightly first, then darken and refine them, paying attention to the fur direction within the stripes themselves. An easy step-by-step tutorial on how to draw a Bengal tiger (striped) will often highlight the importance of these patterns, guiding you to place them correctly to enhance the tiger's form.Bringing Life to Your Canvas: Realistic Tiger Drawing Techniques
If your goal is to learn how to draw a realistic tiger, you'll need to go beyond simple outlines and delve into more advanced techniques of form, texture, and detail.Anatomy and Form: Understanding the Tiger's Structure
A realistic tiger illustration requires a solid understanding of its anatomy. * **Guide Lines and Construction:** Before adding fur and details, use guide lines to map out the underlying bone structure and muscle groups. Think about how the limbs connect to the torso, the curve of the spine, and the bulk of the shoulders and hindquarters. This internal scaffolding ensures your tiger looks structurally sound and powerful. * **Muscles:** Even if you don't draw every muscle, understanding their placement and how they flex and relax will inform your shading and line work, making your tiger appear more dynamic and alive. * **Perspective and Proportion:** Pay close attention to how different parts of the tiger appear from your chosen angle. Use a grid drawn lightly with a 4H graphite pencil over your reference image to help maintain accurate proportions as you sketch out the basic shapes of the tiger.Adding Depth and Texture: Fur and Details
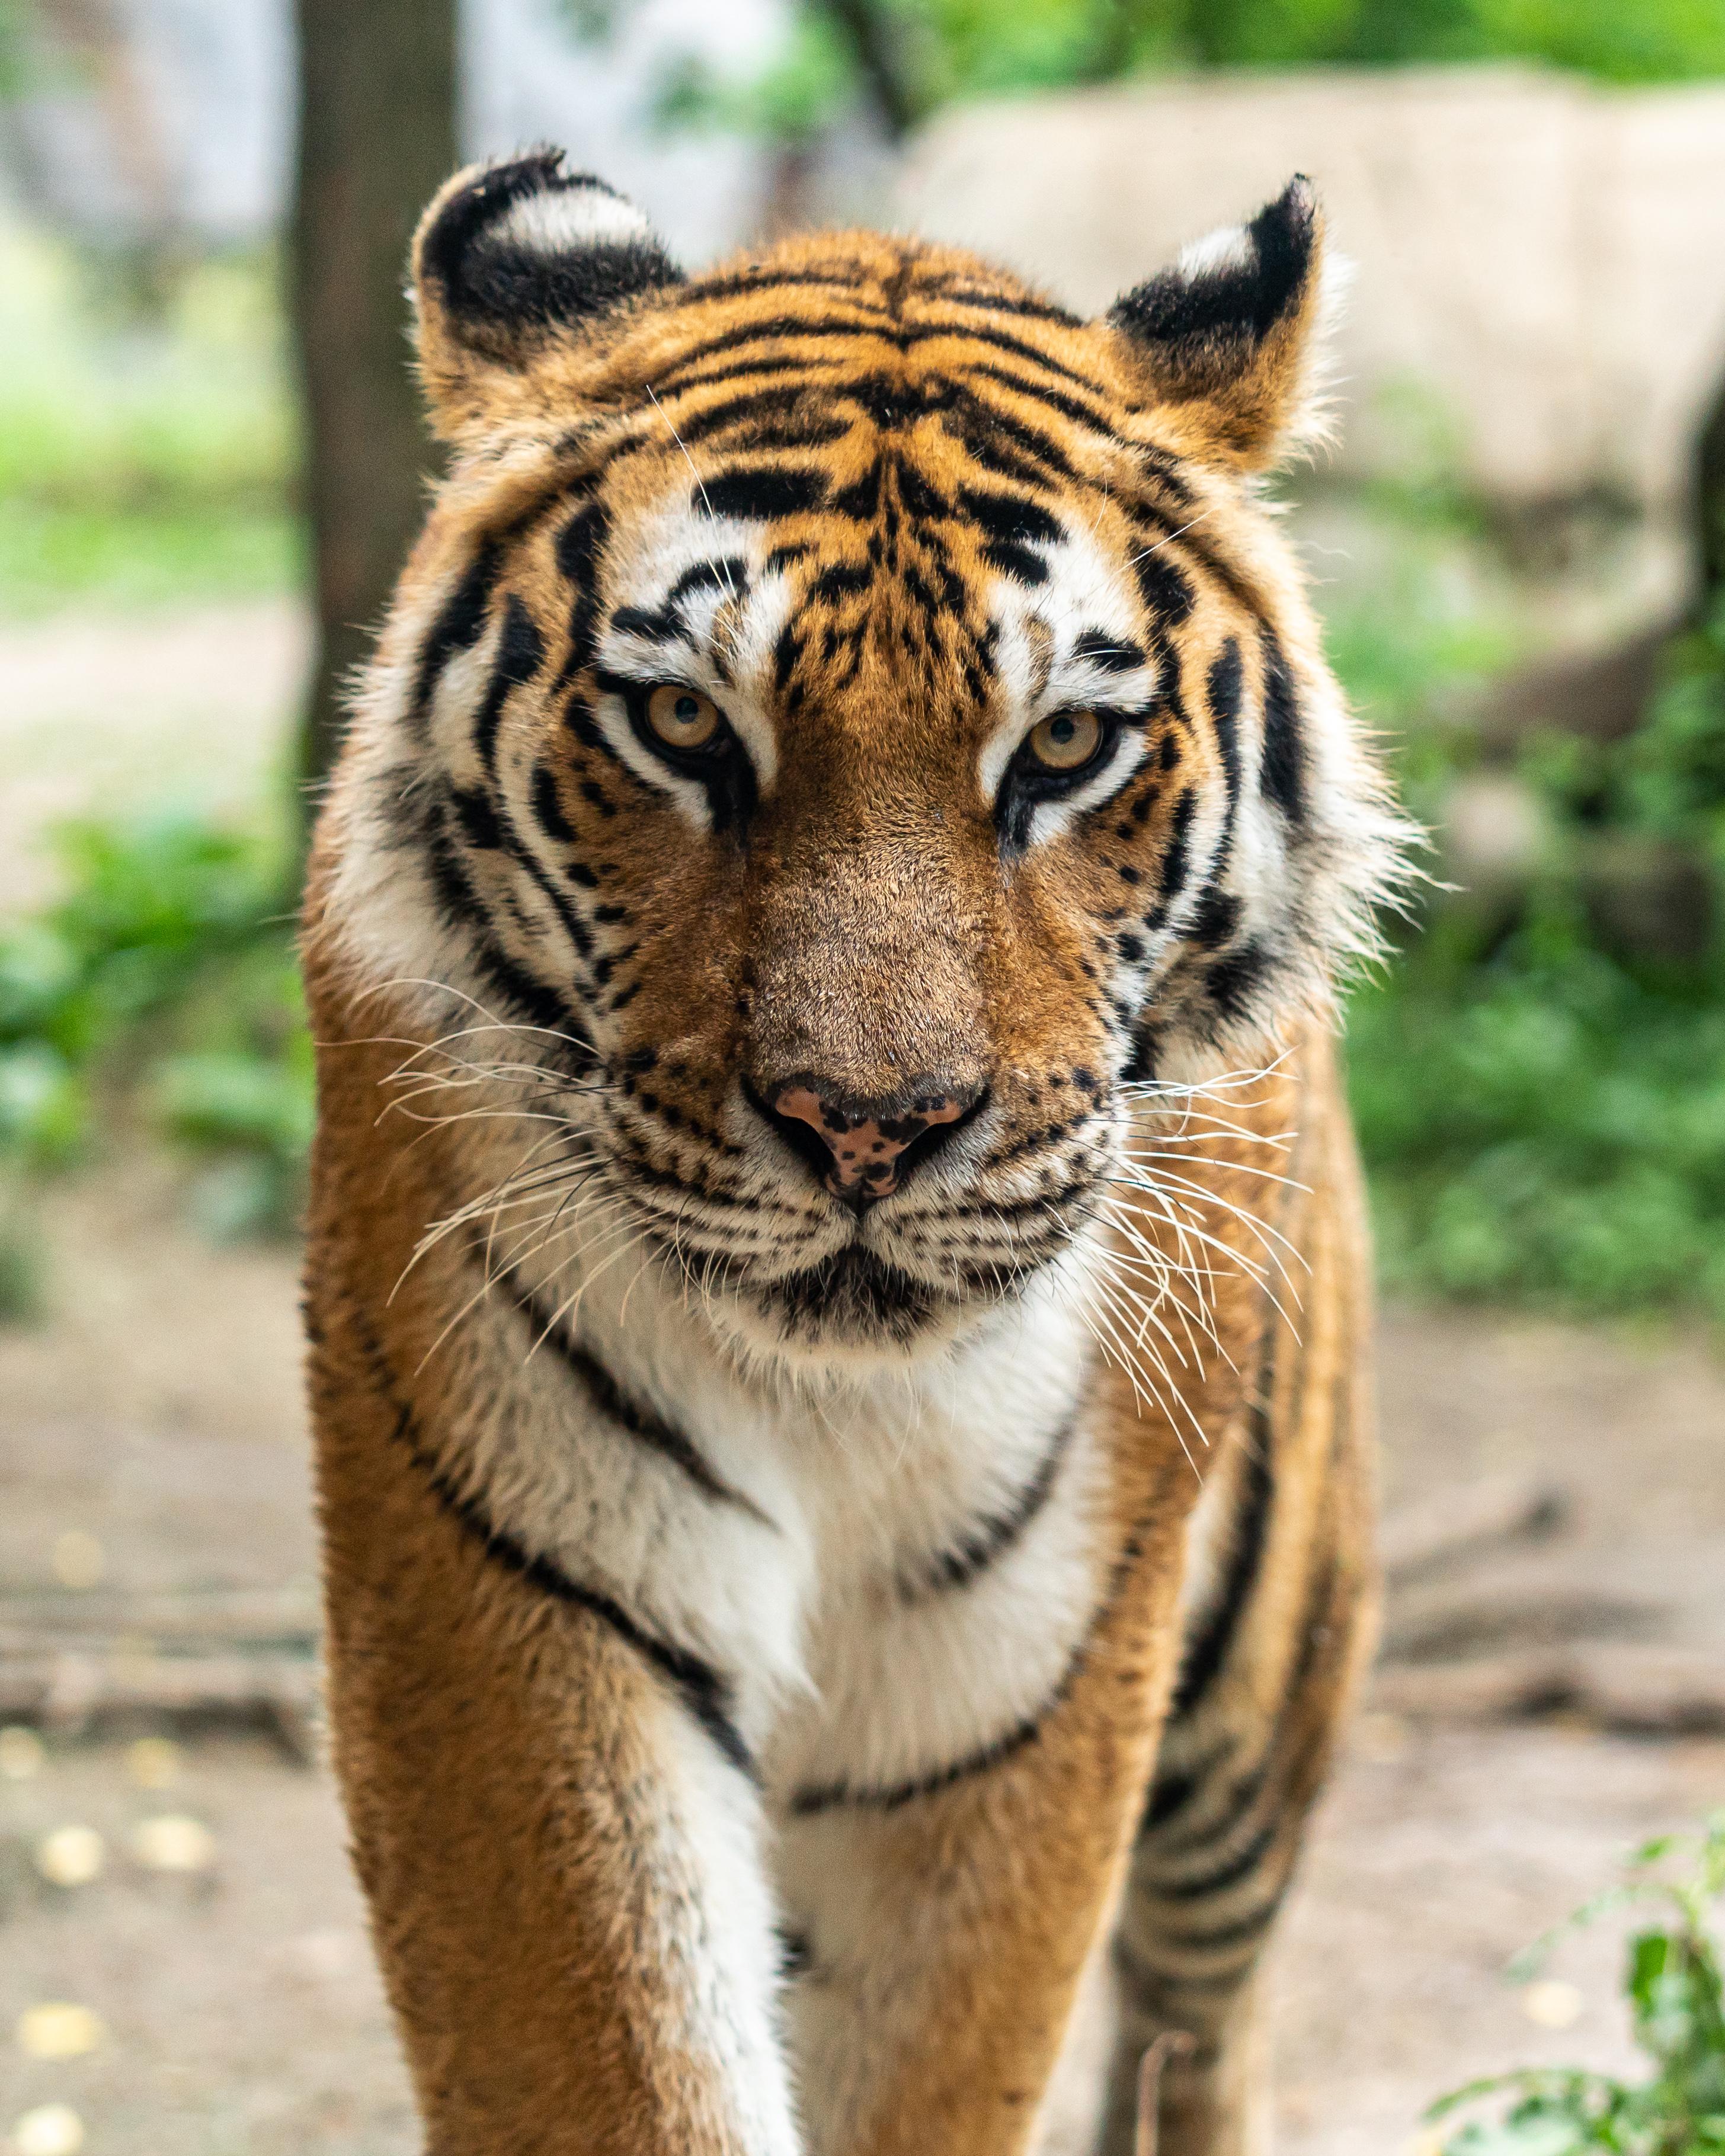
This is where your tiger truly comes to life. * **Fur:** The direction and length of the fur vary across the tiger's body. Use short, directional strokes to mimic the fur's texture. On the face, fur is generally shorter, while on the mane and belly, it can be longer and shaggier. Layering strokes with varying pressure will create depth. * **Eyes:** The eyes are the windows to the tiger's soul. "Learn how to draw a realistic tiger head!" focuses heavily on this. The shape, the pupil, and especially the reflections of light in the eyes can convey emotion and make your tiger seem truly present. Use subtle shading around the eyes to give them depth. * **Nose and Mouth:** These features are often wet and shiny. Use highlights and shadows to create that wet look. The whiskers, too, are crucial for realism; draw them individually, originating from specific points on the muzzle. * **Shadows and Highlights:** Understanding how light falls on the tiger's form is paramount. Use softer pencils (2B and above) to build up shadows, defining the contours of the muscles and adding volume. Highlights, achieved by leaving paper white or using an eraser, will make your tiger pop off the page. Follow the simple steps and tips to create a realistic and elegant tiger illustration.Exploring Different Styles: Cartoon vs. Realistic Tiger Drawing
The beauty of tiger drawing lies in its versatility. You can interpret the tiger in myriad ways, from whimsical cartoon characters to breathtakingly realistic portrayals. * **Cartoon Tiger Drawing Lesson:** This style emphasizes simplicity, exaggeration, and often, cuteness. For a Kawaii cute cartoon tiger drawing lesson, you'd focus on larger eyes, simplified shapes, and perhaps a contented smile. The goal is to capture the tiger's essence in a charming, approachable way. "Follow the instructions to create a cute tiger cub with stripes, ears, nose, mouth and more" is a perfect example of a cartoon approach. You might begin the cartoon tiger outline by sketching the tiger's face using curved lines that meet at jagged points to outline its furry, rough edges, but then simplify the body and limbs. * **Realistic Tiger Drawing:** This style aims for accuracy and lifelike representation. It demands meticulous attention to anatomy, fur texture, light, and shadow. The details like individual whiskers, the subtle veins in the ears, and the complex patterns of the stripes become paramount. Learning how to draw a realistic tiger involves deep observation and precise execution. Both styles are valid and offer unique joys. Many artists enjoy switching between them, using the simpler cartoon style for quick sketches or fun projects, and the realistic style for more intensive, detailed works. "Learn how to draw a tiger in different styles and positions with this step by step tutorial" encourages this exploration, showing how the same subject can be approached from various artistic perspectives.Beyond the Basics: Poses, Expressions, and Advanced Tiger Drawing
Once you're comfortable with the fundamentals of tiger drawing, you can begin to explore more complex compositions. * **Different Poses:** A tiger is rarely static. They lounge, stalk, pounce, and play. Try drawing a tiger in a cozy hammock, as mentioned in one of the data points, or perhaps a tiger cub playfully batting at a leaf. These dynamic poses add narrative and interest to your artwork. Remember to start with your stick figure and basic shapes to map out the pose accurately. * **Expressions:** A tiger's face can convey a wide range of emotions – curiosity, alertness, ferocity, or even contentment. Focus on the eyes, eyebrows (or brow ridges), and mouth to capture these nuances. A contented smile, for instance, can transform a powerful predator into an adorable cutie. * **Composition:** Think about the environment your tiger inhabits. Is it in a dense jungle, by a watering hole, or perhaps just a simple background that highlights the tiger itself? The background can enhance the mood and story of your drawing. * **Adding Color:** While this guide focuses on drawing, consider how you might add color later. Watercolors, colored pencils, or digital painting can bring another layer of vibrancy to your tiger illustration. "Follow the simple instructions and add your own colors and details to create your own tiger illustration."Tips and Tricks for a Successful Tiger Drawing Experience
Drawing, like any skill, improves with practice and patience. Here are some overarching tips to help you on your tiger drawing journey: * **Practice Consistently:** The more you draw, the better you'll become. Even short, daily sketching sessions can make a significant difference. "Subscribe for more tutorials like this every single day" is a good reminder of the value of consistent learning. * **Don't Be Afraid to Erase:** Your eraser is your friend, not a sign of failure. Use it to correct mistakes, refine lines, and even create highlights. * **Use Reference Images Wisely:** Don't just copy. Study your references to understand anatomy, light, and texture, then apply that understanding to your drawing. See facts, tips, and examples of tiger drawing for kids and adults. * **Break It Down:** If a part of the tiger seems too daunting, break it down into smaller, simpler shapes. This applies to everything from the entire body to individual stripes or fur patches. * **Take Breaks:** Step away from your drawing periodically. When you come back with fresh eyes, you'll often spot areas for improvement you might have missed. * **Experiment with Materials:** While we've discussed basic pencils, don't hesitate to try charcoal, ink, or even digital tools once you're comfortable with the fundamentals. * **Enjoy the Process:** Drawing should be fun! Embrace the learning curve, celebrate your progress, and don't get discouraged by perceived imperfections. Every stroke adds to the symphony of shapes and textures, making your drawing uniquely yours.Conclusion: Your Roaring Artistic Journey Continues
The journey of tiger drawing is a captivating one, filled with opportunities for growth, learning, and immense satisfaction. From understanding the basic shapes that form the foundation of a cute tiger cub to mastering the intricate details that bring a realistic tiger illustration to life, each step contributes to your artistic development. We've explored the essential tools, demystified the process of building from simple forms, delved into the secrets of realistic fur and stripes, and even touched upon the joy of exploring different artistic styles. Remember, drawing is a skill that flourishes with consistent practice and a keen eye for observation. So, gather your materials, pick up your pencil, and let the majestic tiger inspire your next masterpiece. Don't hesitate to revisit these steps, experiment with new techniques, and most importantly, enjoy every moment of your creative process. What's a big cat with stripes that doesn't meow? It's your stunning tiger drawing, ready to roar off the page! Share your creations, seek feedback, and continue to explore the endless possibilities that art offers. Your roaring artistic journey has just begun!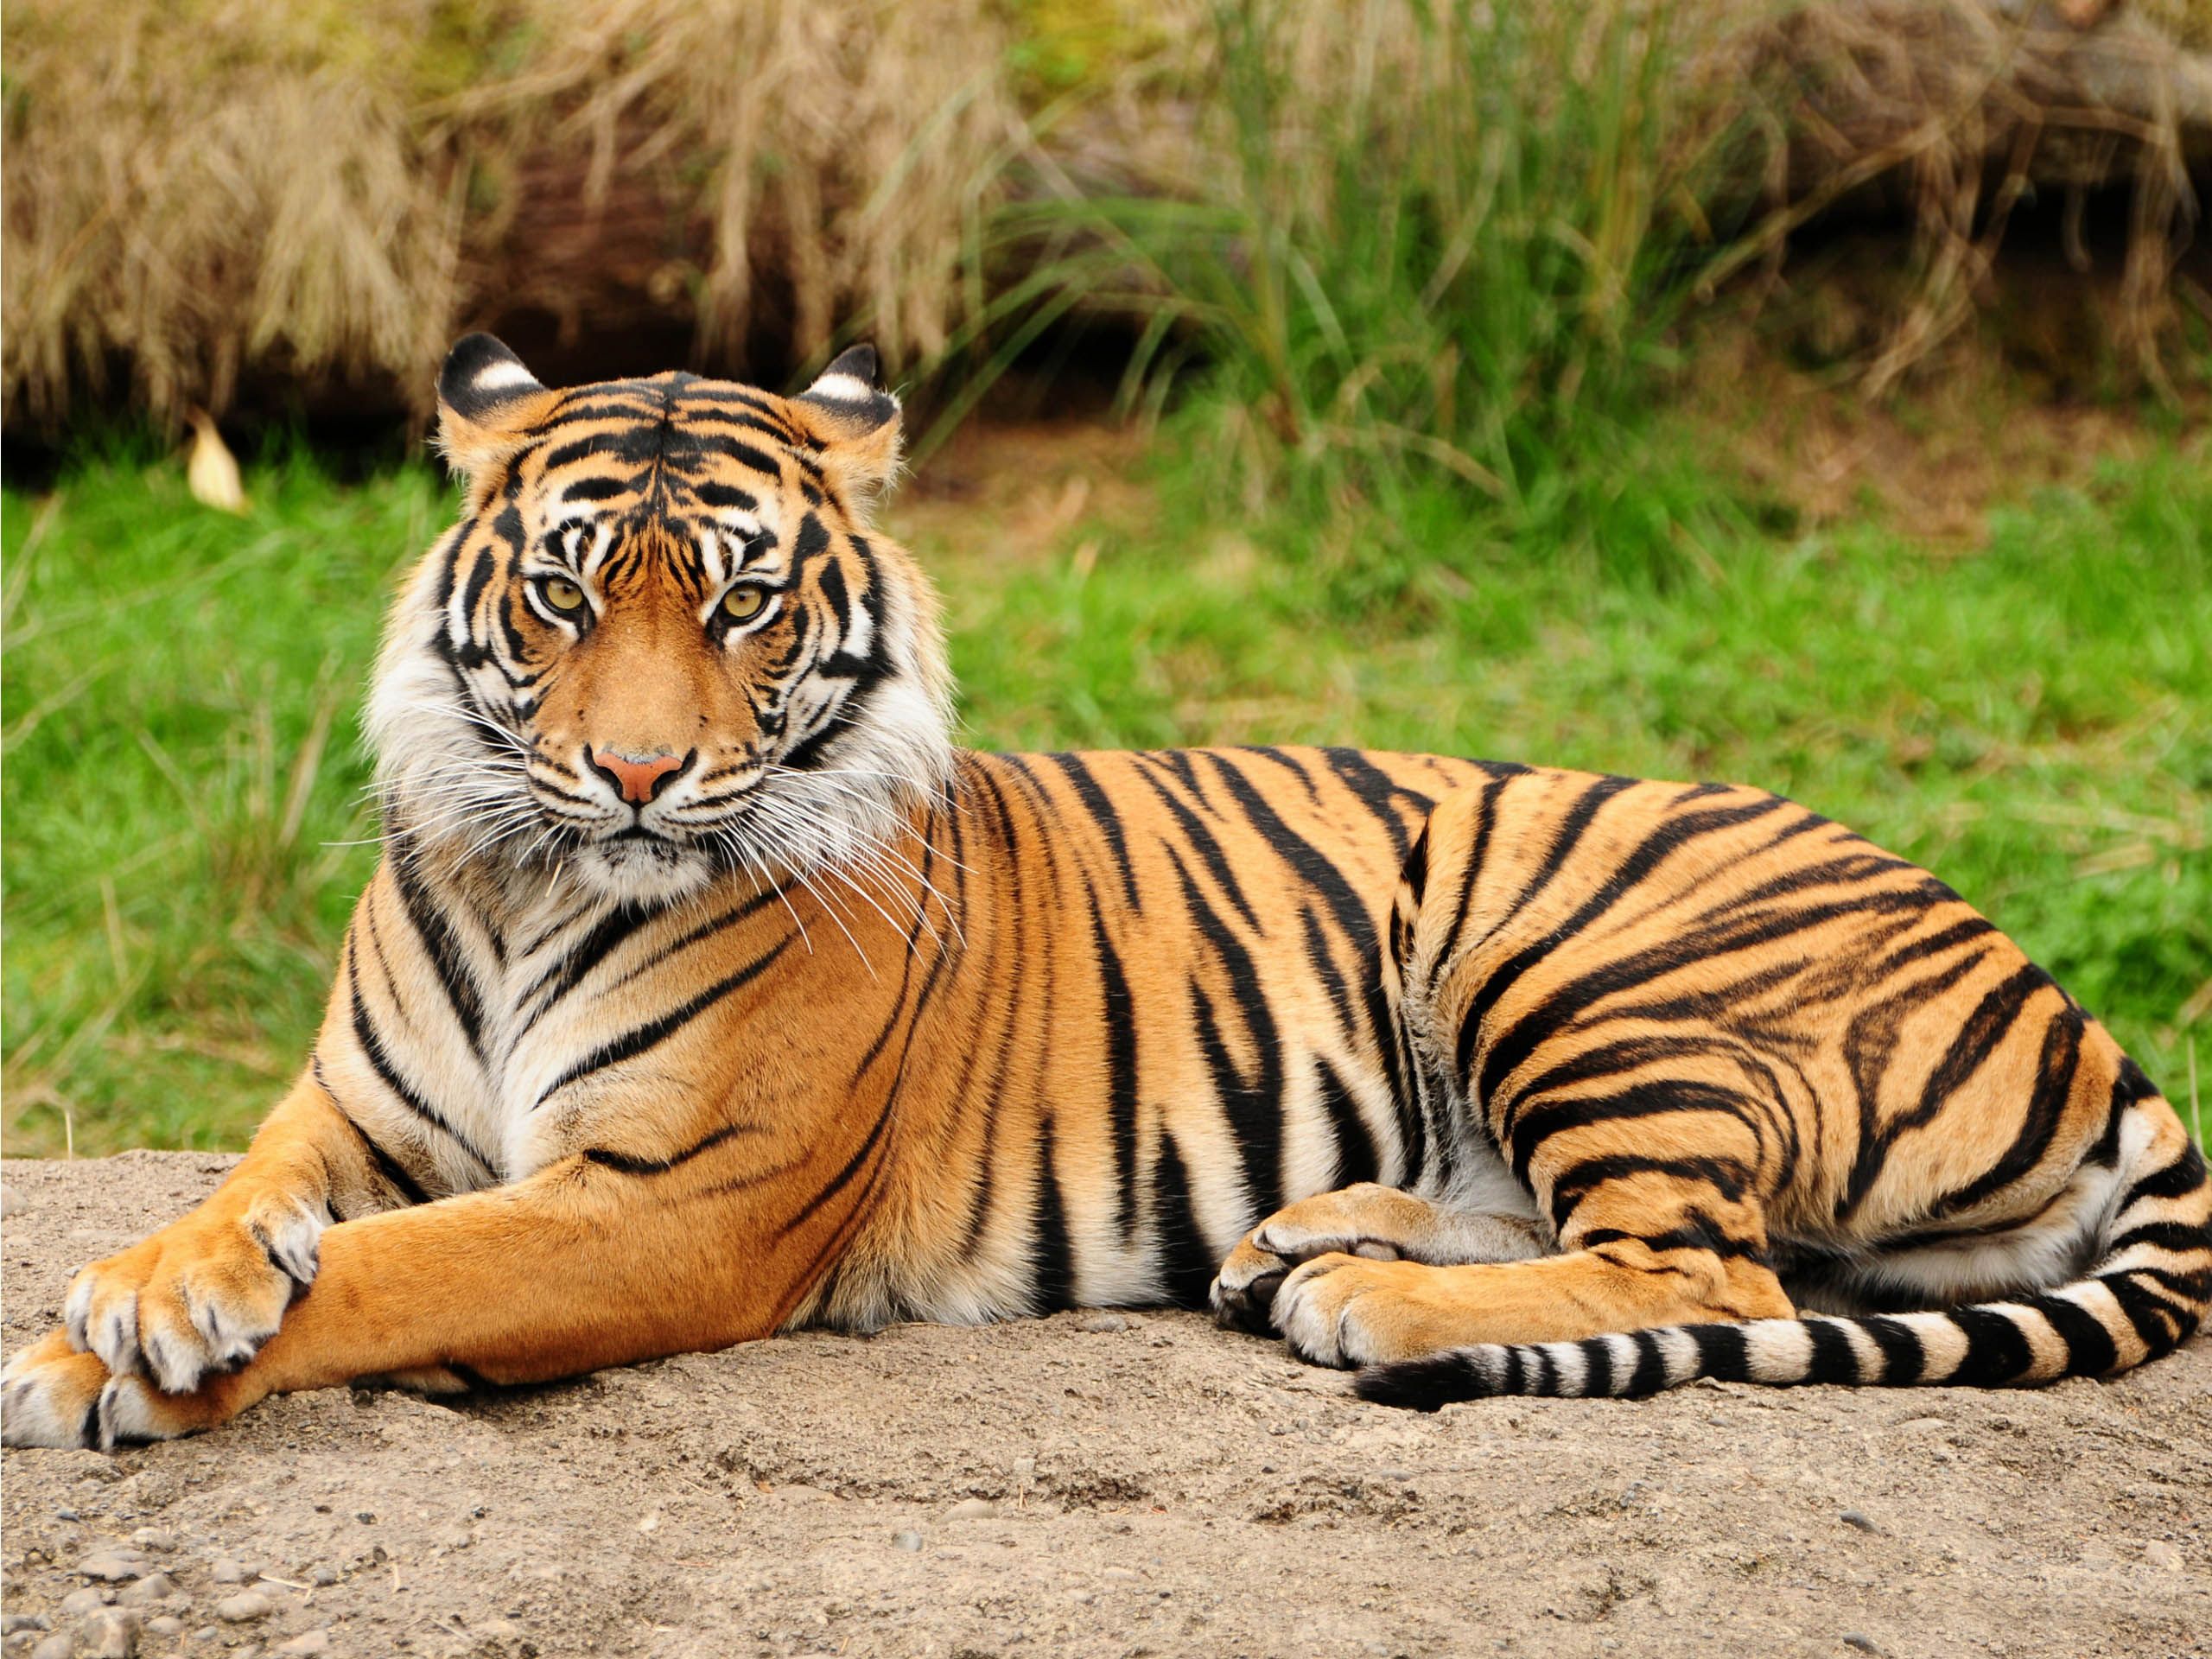
Tigers images Elegant Tiger ♡ HD wallpaper and background photos (35204002)
Animal Tiger HD Wallpapers - Wallpaper Cave
Tiger | Species | WWF
