Mastering Owl Drawing: From Simple Sketches To Realistic Art
Owls, with their captivating eyes and silent flight, have long been a source of fascination, inspiring artists across the globe. Their unique blend of wisdom and adorable charm makes them an incredibly rewarding subject for any artist, whether you're just starting your creative journey or looking to refine your skills. This comprehensive guide will dive deep into the world of owl drawing, offering insights, techniques, and inspiration to help you bring these magnificent creatures to life on paper.
From the whimsical and cartoonish to the strikingly realistic, the possibilities within owl drawing are as vast as the species themselves. We'll explore various styles, essential techniques, and the joy of artistic expression that comes with capturing the essence of these nocturnal wonders. Get ready to embark on a fun adventure that promises to add a touch of magic to your paper and elevate your artistic abilities.
Table of Contents
- Why Owls Are the Perfect Muse for Your Art
- Understanding Owl Anatomy: The Foundation of Realistic Owl Drawing
- Exploring Different Owl Drawing Styles
- Step-by-Step Guide: Bringing Your Owl to Life
- Adding Depth and Detail: Feathers, Eyes, and Atmosphere
- Choosing Your Medium: Colors and Creativity
- The Joy of Owl Drawing: Beyond the Canvas
Why Owls Are the Perfect Muse for Your Art
Owls, with their big, curious eyes and soft, feathery bodies, are both wise and adorable, making them fun subjects to draw. Their distinct features, from their expressive faces to their intricate feather patterns, offer a rich tapestry of textures and forms for artists to explore. Whether you're drawn to their majestic presence or their charming, often comical, expressions, an owl drawing provides an incredible canvas for creativity.
The versatility of owls as artistic subjects is truly remarkable. From sleepy to realistic, from geometric to whimsical, these owl drawings are perfect for practicing shapes, shading, and creativity. You can capture the serene wisdom of a barn owl, the fierce intensity of a great horned owl, or the playful cuteness of a baby owlet. This wide range of characteristics allows artists to experiment with different styles and techniques, making each owl drawing a unique adventure. Owls are super cute birds that we all adore, and drawing them is such a fun adventure; it's like adding a touch of magic to your paper.
Understanding Owl Anatomy: The Foundation of Realistic Owl Drawing
To truly excel at owl drawing, especially if you aim for realism, a basic understanding of owl anatomy is incredibly helpful. There are around 200 different owl species in the world, and they can be found on every continent except Antarctica. This incredible diversity means that not every owl is the same either. From the tiny Elf Owl to the massive Blakiston's Fish Owl, their sizes, proportions, and feather patterns vary significantly. Drawing birds can be tricky, as each kind of bird is different, from its color to its structure and size. However, by focusing on general owl characteristics and then adapting them to specific species, you can create more accurate and compelling artwork.
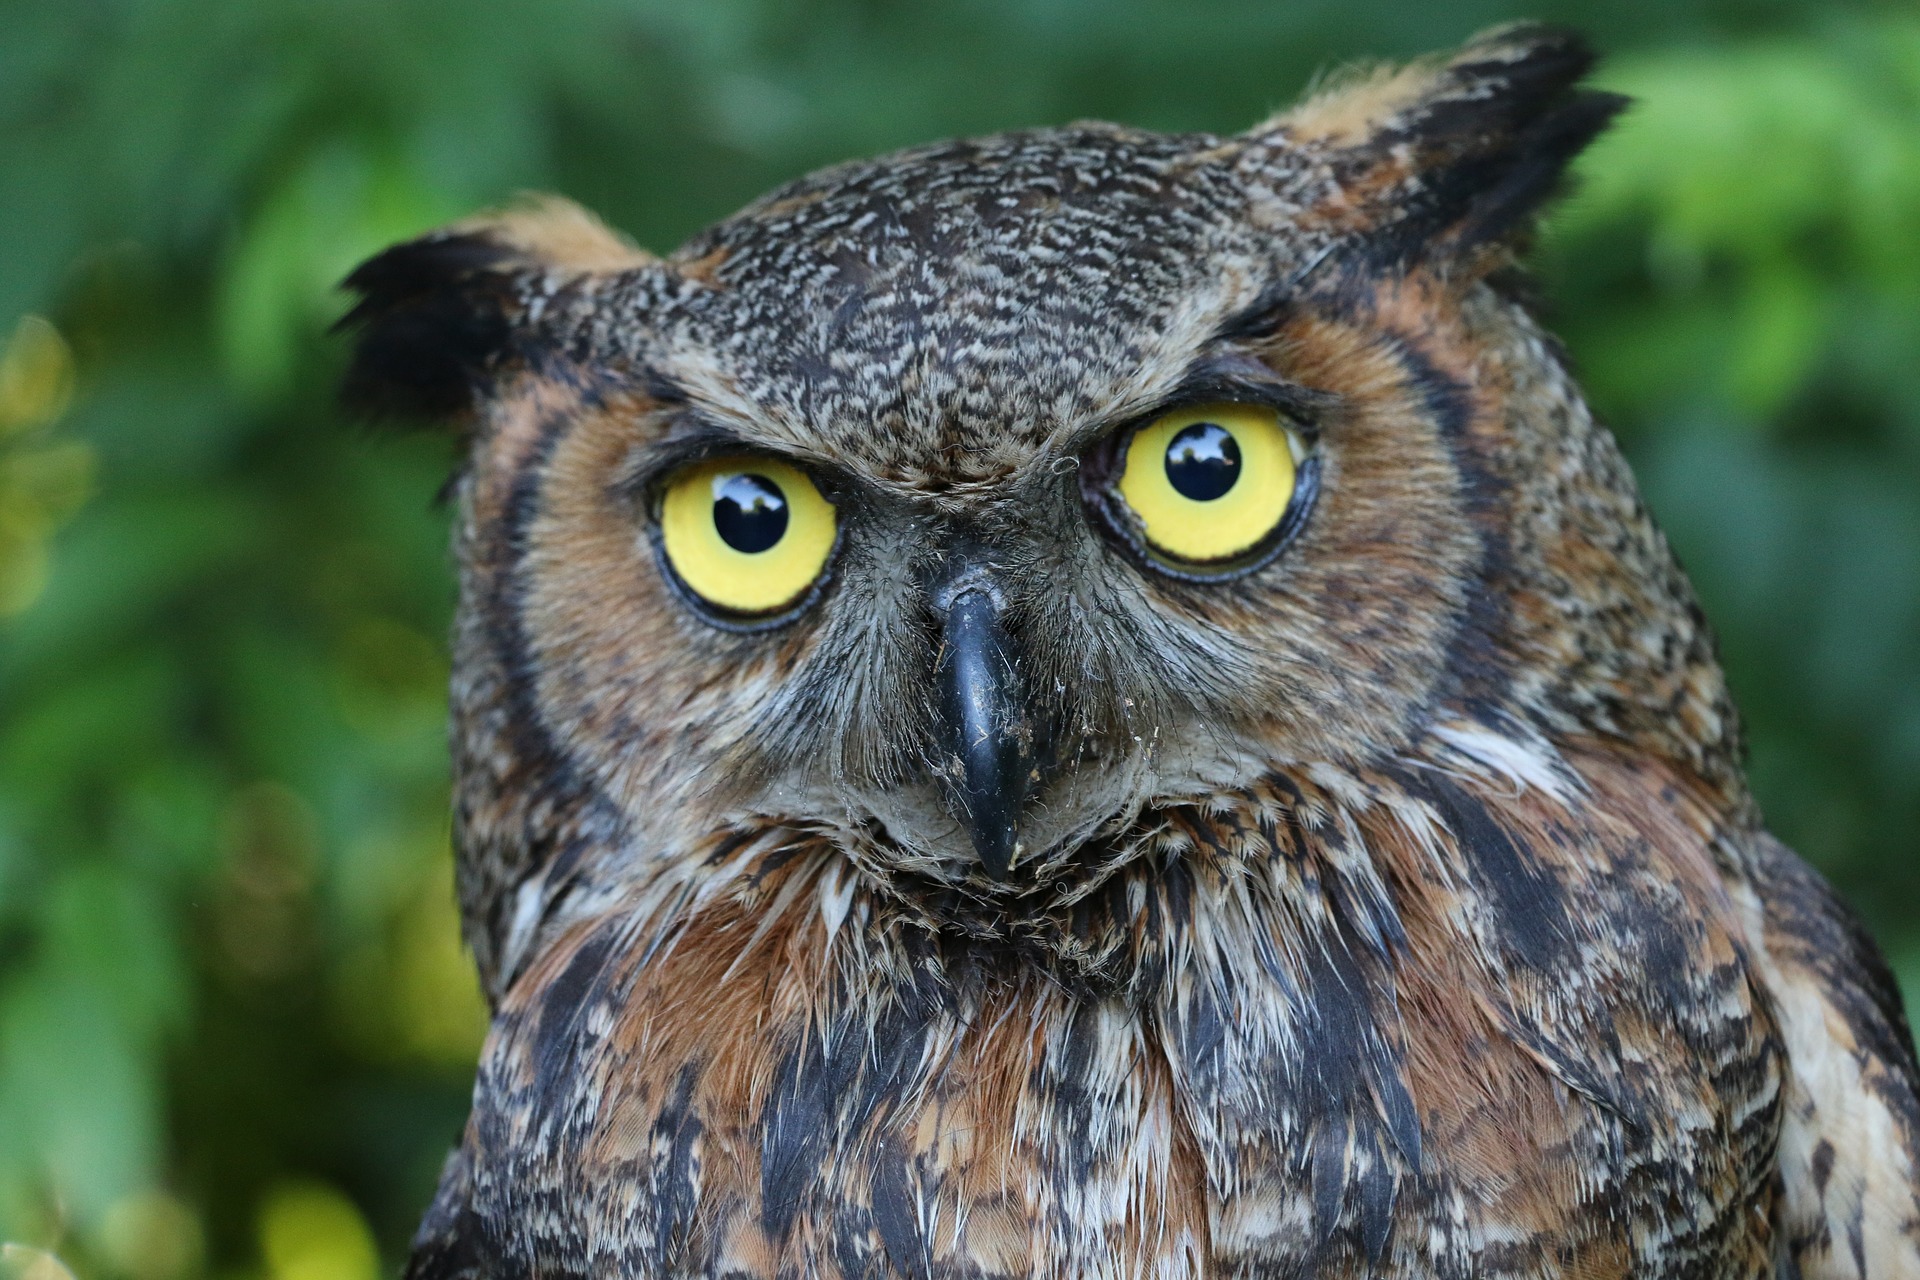
Key anatomical features to observe include their large, forward-facing eyes, which give them excellent binocular vision; their flat faces, which act like a satellite dish to funnel sound; and their powerful talons. Their feathers are also a crucial element, providing insulation, camouflage, and enabling silent flight. Understanding these elements will help you capture not just the look, but also the essence of an owl in your drawing.
The Basic Shapes: Starting Your Owl Drawing
Every complex drawing begins with simple shapes. For an owl drawing, this principle holds true. Starting with basic geometric forms helps establish the correct proportions and pose before you delve into details. This foundational step is crucial for any artist, especially beginners, as it prevents common errors in scale and perspective.
To begin, lightly draw a small oval for the head. This oval doesn't need to be perfect, just a guide for the overall shape. Next, draw vertical and horizontal lines inside the head oval, dividing it into 4 sections. These guidelines will be invaluable for placing the eyes, beak, and facial disc symmetrically. Below the head, you'll typically draw a larger oval or a pear shape for the body, connecting it smoothly to the head. Consider the owl's posture – is it perched upright, or slightly hunched? Adjust the body shape accordingly. These initial shapes serve as the skeleton of your owl drawing, providing a solid framework upon which you can build the rest of your artwork with confidence and precision.
Exploring Different Owl Drawing Styles
The beauty of owl drawing lies in its incredible versatility. You're not limited to one style; instead, you can explore a spectrum of artistic expressions. Whether you're looking to create an owl bird, owl nature, owl animal, owl sketch, or even an owl cartoon, there's a style that will resonate with your artistic vision and skill level. This exploration allows for immense creativity and personal expression, making the process enjoyable and rewarding.
Different styles emphasize different aspects of the owl. A realistic drawing focuses on accurate anatomy and texture, while a cartoon might exaggerate features for comedic or endearing effect. Geometric owls play with shapes and patterns, offering a modern, stylized look. Whimsical owls allow for imaginative colors and fantastical elements. Each approach offers a unique challenge and opportunity to develop specific drawing skills.
Cute and Whimsical Owl Drawings for All Ages
For those who love charm and simplicity, cute and whimsical owl drawings are an excellent starting point. These styles often feature oversized eyes, simplified body shapes, and playful expressions, making them highly appealing and accessible. Learn how to draw a cute, colorful owl with whimsical patterns and designs in this fun tutorial. This approach is fantastic for beginners and kids, offering a low-pressure way to enjoy the drawing process and achieve delightful results.
There are numerous resources available to guide you. Learn how to draw an owl with these 25 cute and easy owl drawing ideas with step-by-step sketch guides, printables, and coloring pages. These resources often break down complex shapes into simple, manageable steps, making the process less intimidating. You can learn how to draw a simple cartoon owl or a more realistic owl with step-by-step instructions and printable guides. These styles are perfect for a fun fall project, allowing you to color your owl drawings and enjoy the creative process without getting bogged down by intricate details. The focus here is on fun, expression, and building confidence.
Mastering Realistic Owl Drawing Techniques
If your goal is to capture the true majesty of an owl, then mastering realistic owl drawing techniques is key. This path requires patience, observation, and a keen eye for detail. Learn how to draw a realistic owl with markers and colored pencils in this video lesson by Art for Kids Hub. While the name suggests "kids," this lesson is for kids age 13 and older, even adults, and requires some advanced skills. Realistic drawing involves understanding light and shadow, texture, and subtle variations in color.
To achieve realism, you'll need to pay close attention to the intricate feather patterns, the way light catches the owl's eyes, and the subtle contours of its body. This often involves layering colors, blending, and using various strokes to mimic different textures. It's about building up the image slowly, adding depth and dimension with each step. The reward is an owl drawing that truly feels alive, conveying the expression and mood of these magnificent birds with care and attention.
Step-by-Step Guide: Bringing Your Owl to Life
Regardless of the style you choose, a structured approach can greatly simplify the owl drawing process. Following a step-by-step guide helps break down what might seem like a daunting task into manageable segments, making it accessible for artists of all levels. Our artist will guide you through the process, ensuring you understand each stage before moving on.
After establishing your basic shapes (head oval, body, and guidelines), the next steps involve refining these forms. Start by sketching the outline of the owl's face, paying attention to the distinct heart shape often found in barn owls or the more rounded face of a great horned owl. Then, sketch the large, round eyes, positioning them carefully along your horizontal guideline. Add the small beak and begin to define the shape of the wings and tail. Remember, these are still light pencil lines – don't press too hard, as you'll want to erase them later. Follow the simple steps and customize your owl with different media and colors as you progress, allowing for personal touches.
As you refine the overall shape, start thinking about the pose. Is your owl perched on a branch? Is it in flight? Even a simple branch adds context and helps ground your drawing. This stage is about building the overall form before adding the intricate details that truly make your owl drawing shine.
Adding Depth and Detail: Feathers, Eyes, and Atmosphere
Once the basic form of your owl drawing is established, it's time to infuse it with life through details. This is where your owl truly begins to take on character and depth. The eyes, in particular, are crucial, as they are often considered the windows to the soul, capable of communicating expression and conveying mood. A charming owl with big, round eyes can instantly capture attention and convey a friendly appearance.
Your owl drawing is very nearly finished now; it just needs a few more little details to finish it off. For feathers, you can use some curved lines on the body to create the look of feathers on your owl, as well as using some lines on the tail. Don't try to draw every single feather; instead, focus on creating the illusion of texture and softness. Use varying line weights and shading to suggest the layers and fluffiness of the feathers. For the eyes, consider adding highlights to make them sparkle and reflect light, giving them a lifelike quality. The owl’s small beak and simple wings add to its friendly appearance, but subtle shading can give them dimension.
To enhance the magical atmosphere, consider adding elements like glowing fireflies, as described in one reference, which create a magical atmosphere with their gentle glow. Background elements, even simple ones like a branch or a hint of foliage, can greatly enhance the overall composition and narrative of your owl drawing.
The Power of Ink and Outlines
After you've perfected your pencil sketch and added all the necessary details, it's time to consider the power of ink. How to draw an owl with ink is a question many artists ask, and the answer lies in its ability to add crispness and permanence to your work. Making an owl outline is easy to do: simply trace over your pencil lines with a black pen or marker. This step defines your drawing, making it stand out and giving it a professional finish.
You can make your lines thin, thick, or a combination of the two, depending on the effect you want to achieve. Thicker lines can be used for the main contours of the owl, giving it a strong presence, while thinner lines can be used for delicate details like individual feathers or subtle patterns. If drawn with care and attention, these inked lines can communicate the expression and convey the mood of your owl, adding another layer of artistic depth. Once the ink is dry, you can carefully erase any remaining pencil lines, leaving behind a clean and striking outline ready for coloring or simply admired as a line art piece.
Choosing Your Medium: Colors and Creativity
The choice of coloring medium can dramatically alter the look and feel of your owl drawing. Whether you prefer the vibrant punch of markers, the soft blendability of colored pencils, the expressive strokes of paint, or the digital freedom of graphic tablets, each medium offers unique possibilities for customization and creativity. Color your owl drawings and enjoy this fun fall project, experimenting with different palettes and techniques.
For a cute, colorful owl, you might opt for bright markers or watercolors to achieve a whimsical effect. For a realistic owl, colored pencils or pastels allow for subtle layering and blending, essential for capturing the nuanced textures of feathers and the depth of the eyes. Remember, you can customize your owl with different media and colors. Don't be afraid to mix and match or try new combinations. For instance, you could use ink for the outline and then add color with pencils, or even experiment with digital coloring over a traditional sketch. The goal is to have fun and explore what works best for your artistic vision and the specific mood you want to convey in your owl drawing.
The Joy of Owl Drawing: Beyond the Canvas
Beyond the technical aspects of lines, shapes, and colors, the act of owl drawing itself is a profoundly rewarding experience. Art projects are one of the best ways to spend time with your family, as well as to learn to try new things! It's a wonderful way to unwind, practice mindfulness, and express your inner creativity. The satisfaction of seeing a blank page transform into a captivating image of an owl is immense, boosting confidence and encouraging further artistic exploration.
Drawing owls can also be a fantastic educational tool. It encourages observation, patience, and problem-solving. As you learn about different owl species and their unique characteristics, your appreciation for these incredible creatures deepens. Whether you're drawing for personal enjoyment, as a gift for a loved one, or simply to pass the time on a quiet afternoon, the process of creating an owl drawing offers a peaceful escape and a fulfilling creative outlet. It's not just about the final product; it's about the journey of creation, the learning, and the pure joy that comes from making something beautiful with your own hands.
Conclusion
From the foundational shapes to the intricate details of feathers and eyes, we've explored the diverse world of owl drawing. Whether your passion lies in creating charming cartoon owls or mastering the complexities of realistic renditions, the journey of bringing these magnificent birds to life on paper is incredibly enriching. We've seen how understanding basic anatomy, experimenting with different styles, and applying various media can elevate your artwork and allow your unique artistic voice to shine through.
Now that you're equipped with insights and techniques, it's time to pick up your pencil and start your own owl drawing adventure. Don't be afraid to experiment, make mistakes, and most importantly, have fun with the process. Your creativity is your greatest tool. We'd love to hear about your experiences and see your owl masterpieces! Share your thoughts in the comments below, or explore more of our art tutorials to continue expanding your artistic horizons. Happy drawing!

Owl | Edmonton Wildlife

Pam's Backyard Chickens: A Guide to Common Owl Species
Be-at-home with Nature series: Great horned owls - UF/IFAS Extension
