Unleash Your Inner Artist: Mastering Lion Drawing Easy Steps
Embarking on the journey of drawing can be incredibly rewarding, especially when your subject is as majestic as the king of the jungle. If you've ever dreamed of sketching a powerful yet approachable feline, then learning how to create a lion drawing easy is the perfect place to start. This comprehensive guide is designed for beginners and seasoned artists alike, providing clear, step-by-step instructions to help you bring these magnificent creatures to life on paper.
Whether you envision a realistic depiction fitting into a savannah scene or a charming cartoon character reminiscent of a clip from The Lion King, the process can be surprisingly straightforward. You'll discover that even a detailed, realistic lion is not difficult to draw when approached with the right techniques. Prepare to feel like roaring with joy when you complete your very own lion drawing, a testament to your newfound artistic prowess.
Table of Contents
- Why Learn to Draw a Lion? Symbolism and Artistic Joy
- Getting Started: Essential Supplies for Your Lion Drawing Adventure
- The Foundation: How to Draw a Lion Easy Step by Step for Beginners
- Mastering the Mane: The King's Crown
- Bringing Your Lion to Life: Details and Expressions
- Exploring Different Lion Drawing Styles
- Advanced Tips for Your Lion Drawing
- Your Journey to a Roaring Success: Practice and Patience
Why Learn to Draw a Lion? Symbolism and Artistic Joy
Lions are more than just powerful predators; they are symbols of strength, power, and nobility in many human cultures. Their majestic presence and distinctive features make them a captivating subject for artists of all levels. When you learn to draw a lion, you're not just honing your artistic skills; you're also connecting with a creature that embodies courage and regality. The satisfaction of completing a detailed yet easy lion drawing is immense, offering a sense of accomplishment that encourages further artistic exploration. Beyond their symbolic significance, lions offer a fantastic opportunity to practice fundamental drawing techniques. From understanding basic shapes to adding intricate details like fur texture and expressive eyes, a lion drawing provides a comprehensive learning experience. Whether you aim for realism or a playful cartoon style, the core principles remain the same, making it an excellent subject for progressive learning.Getting Started: Essential Supplies for Your Lion Drawing Adventure
Before you dive into the steps of creating your easy lion drawing, it's helpful to gather a few basic art supplies. You don't need anything fancy, just the essentials to get started. Having the right tools can make the process smoother and more enjoyable. Here’s what you might find useful:- Pencils: A range of graphite pencils (e.g., HB for sketching, 2B for darker lines and shading) will be beneficial.
- Eraser: A good quality kneaded eraser or a vinyl eraser for clean corrections.
- Paper: Standard drawing paper or even plain printer paper is fine for practice.
- Optional:
- Blending Stump or Tortillon: For smoothing out shaded areas.
- Reference Images: Look up photos of lions to observe their anatomy, expressions, and fur patterns.
- Online Tutorials: Easy lion drawing online video tutorials for kids and beginners can provide visual guidance.
The Foundation: How to Draw a Lion Easy Step by Step for Beginners
This section will guide you through the fundamental steps of creating a lion drawing. We'll start with simple shapes and gradually add details, building upon each previous step until you get to the final rendering of a lion. This progressive approach ensures that even complex elements become manageable. You'll learn how to draw a lion in a structured, easy-to-follow manner.Building the Basic Structure: Head and Body
Every great drawing starts with a solid foundation. For an easy lion drawing, we begin with simple geometric shapes to establish the overall form and proportion. 1. Start with the Head: Begin by sketching an oval for the lion's head. Don't press too hard; these are just guide lines. 2. Define the Body: Below the head, draw a slightly larger, overlapping oval for the body. This initial setup helps you visualize the lion's posture and scale. If you're aiming to draw a sitting lion, the body oval might be more upright and rounded. 3. Connect the Shapes: Lightly sketch lines to connect the head and body ovals, forming the neck and the basic outline of the lion's torso. 4. Add Limbs (Optional for Full Body): If you're learning how to draw the full body of a lion from the side view, add simple stick lines or elongated ovals for the legs, indicating joints like knees and ankles. For a sitting lion, ensure the front legs are bent and the back legs are tucked. This initial framework is crucial. It allows you to adjust proportions and ensure your lion looks balanced before you commit to more detailed lines. Simply follow along with each step, focusing on the portion shown in red in typical step-by-step guides, and you'll find the process surprisingly intuitive.Adding the Facial Features: Eyes, Nose, and Mouth
Once the basic structure is in place, it's time to bring your lion's face to life. This is where its personality begins to emerge. 1. Guidelines for the Face: Inside the head oval, lightly draw a horizontal line across the middle and a vertical line down the center. These will help you place the features symmetrically. 2. Draw the Eyes: Draw two circles for the eyes, directly above the horizontal line. Their inner corners might go slightly below it. Pay attention to lion eye drawing step by step examples to capture their characteristic gaze. The lion’s eyes are often almond-shaped with a keen, focused look. 3. The Nose: Below the horizontal line, draw a small triangle for the nose. You can round the corners slightly and add two small vertical lines below it for the nostrils. 4. The Mouth Area: From the bottom of the nose, draw two curved lines extending downwards and outwards to form the muzzle and mouth area. You can add a small line for the mouth itself. 5. Ears: The lion’s pair of ears are typically rounded and standing upright, so keep that in mind when drawing the ears of the lion. Place them on either side of the head, slightly above the horizontal guideline. Note the overlap of short lines with jagged points, indicating fur inside and around the ears. 6. Whiskers: Add simple whiskers extending from each side of the mouth area. These should be thin, tapering lines. If you just want to draw a lion’s face, you can stop drawing after this step, perhaps adding a simple outline for the mane. Here’s a big, friendly lion face drawing emerging!Mastering the Mane: The King's Crown
The mane is arguably the most distinctive feature of a male lion, giving him his regal appearance and earning him the title "king of the jungle." Learning to draw this shaggy mane is key to a convincing lion drawing.Crafting the Majestic Male Mane
A male lion's mane is a symbol of his power and majesty. Depict the lion with a huge, round mane that looks like rays of sunshine emanating from his head. 1. Initial Outline: Start by drawing a large, fluffy circle around the lion's head to create the basic shape of the mane. Think of it like a cloud surrounding the lion. 2. Add Volume and Texture: To make a large mane, leave a wide gap between the mane and the face. Draw a scalloped or jagged edge around the lion's entire head, using a series of curved and pointed lines to suggest individual tufts of fur. This creates a natural, bushy look. 3. Inner Details: Add some internal lines within the mane to show depth and the direction of the fur growth. In the middle of the mane, there’s the lion’s happy face, peeking out from the voluminous fur. This step is where your lion truly begins to look like the iconic king we know.The Elegant Lioness: A Different Approach
If you're drawing a lioness, skip the extensive mane step. Lionesses have sleek, short fur around their heads, emphasizing their graceful features. You would instead focus on the contours of her head and neck, perhaps adding very subtle fur indications. This allows for a beautiful variety in your lion drawing portfolio.Bringing Your Lion to Life: Details and Expressions
Once the main structure and mane are in place, it's time to add the finer details that give your lion drawing character and realism. This includes refining the fur, enhancing the eyes, and experimenting with different expressions. 1. Fur Details: Use short, quick strokes to indicate the direction and texture of the fur across the lion's body and face. Notice the bulges of the cheek and chin, and add subtle fur lines there. When you reach the ear, notice the overlap of short lines with jagged points, indicating fur. 2. Refining the Eyes: The eyes are the windows to the soul, even for a lion. You can see a lion’s eye draw step by step in various examples to better understand the end goal of the drawing. Add pupils, highlights (small white circles to indicate light reflection), and subtle shading around the eyes to give them depth and life. This can dramatically change the lion’s expression. 3. Facial Expressions: Don't limit yourself to a single look. Create some different facial expressions for variety. We’re about to get to the cute facial expression of this drawing in the next step of this guide on how to draw a lion. A slight change in the mouth or eyebrows can convey anything from a fierce roar to a relaxed, happy demeanor. For instance, a cartoon lion for kids often features a very relaxed and happy sitting pose. 4. Whiskers and Brows: Darken the whiskers slightly and add a few subtle lines above the eyes to suggest eyebrows, which further contribute to expression. This step-by-step lesson progressively builds upon each previous step until you get to the final rendering of a lion, making even complex details manageable.Exploring Different Lion Drawing Styles
The beauty of drawing is the freedom to explore various artistic styles. Your lion drawing doesn't have to be strictly realistic; it can be a fun cartoon or a stylized representation.Drawing a Realistic Lion: From Start to Finish
For those who prefer accuracy, drawing a realistic lion involves paying close attention to anatomy, lighting, and texture. In this video, I show you a complete guide for drawing a realistic lion from start to finish. This guide is very easy to follow and perfect for beginners looking to achieve a lifelike depiction. 1. Proportions: Ensure the head, body, and limb proportions are accurate to a real lion. Reference photos are invaluable here. 2. Musculature and Bone Structure: Lightly sketch underlying muscle groups and bone structures to give your lion a sense of weight and form. 3. Detailed Fur: Build up layers of fur using varying pencil pressures and stroke directions. Observe how light hits the fur, creating highlights and shadows. 4. Shading: Use cross-hatching, blending, or stippling to create depth and volume. Pay attention to shadows cast by the mane, under the chin, and on the legs. 5. Eyes and Expression: Realistic eyes require careful attention to the iris, pupil, and surrounding folds of skin. A realistic lion's expression often conveys power and alertness. I hope you're excited about today's lesson; I know I am! Follow along with me and learn how to draw a realistic lion 🦁. This lesson aims to demystify the process, making a realistic lion drawing accessible.Fun Cartoon Lion Drawing for Kids and Beginners
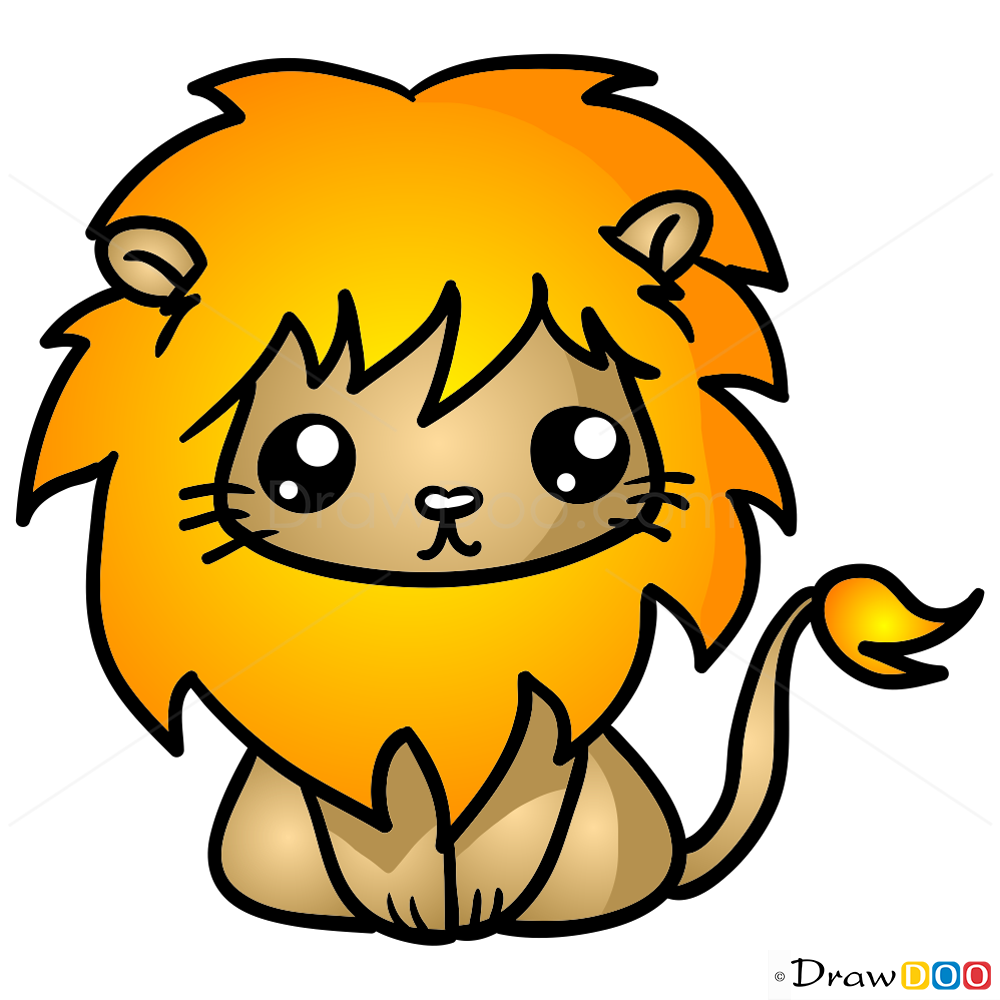
Cartoon lions offer a fantastic way to simplify forms and exaggerate features for a playful and expressive result. Here’s another fun cartoon lion for kids to draw. 1. Simplified Shapes: Use more exaggerated and rounded shapes for the head and body. 2. Large, Expressive Eyes: Cartoon eyes are often larger and more stylized, conveying emotions clearly. You can create a cute facial expression easily with cartoon styles. 3. Fluffy Mane: A cartoon mane can be a simple, fluffy circle, like a cloud, surrounding the lion's happy face. 4. Exaggerated Features: Make the nose bigger, the whiskers longer, or the paws chunkier for a whimsical effect. 5. Sitting Pose: A popular choice for cartoon lions is a sitting pose, looking very relaxed and happy. This is a very approachable way to draw a full-body lion. Follow along to learn how to draw a cute lion step by step, easy! A cartoon lion drawing tutorial lesson is perfect for quick, satisfying results.Advanced Tips for Your Lion Drawing
Once you're comfortable with the basics of how to draw a lion easy, you can start exploring more advanced techniques to elevate your artwork. 1. Understanding Light and Shadow: Learning how light interacts with the lion's form is crucial for creating a three-dimensional effect. Identify your light source and shade accordingly, creating darker areas in recessed parts and lighter areas where light hits directly. 2. Adding Texture: Beyond just fur, consider the texture of the nose, paw pads, and even the roughness of the mane. Vary your pencil strokes to achieve different textures. 3. Background and Environment: Place your lion in a context. He will fit right into a savannah scene or a clip from The Lion King. Adding a simple background, like tall grass or a distant horizon, can enhance the narrative of your drawing. 4. Experiment with Mediums: Don't limit yourself to pencils. Try charcoal for dramatic effects, colored pencils for vibrant hues, or even digital drawing tools. 5. Practice Expressions: As mentioned, create some different facial expressions for variety. A roaring lion, a sleeping lion, or a playful cub each offer unique artistic challenges and opportunities. Remember, this realistic lion is not difficult to draw, even though he includes a lot of detail. It's all about breaking down the process into manageable steps.Your Journey to a Roaring Success: Practice and Patience
Completing a lion drawing, especially one that looks both detailed and easy to achieve, is a fantastic accomplishment. You will feel like roaring with joy when you complete this lion drawing, a testament to your dedication and growing skill. The key to mastering any drawing skill, including how to draw a lion easy step by step for beginners, is consistent practice. Don't be discouraged by initial attempts that don't quite match your vision. Every line, every smudge, every correction is a learning opportunity. In just a few minutes of focused practice each day, you'll see remarkable improvement. There are countless resources available, from easy lion drawing online video tutorials to picture guides. For instance, you can learn how to draw a lion in 8 easy steps with a video and picture guide, or even complete a lion drawing in just 9 easy steps. Follow along with the simple instructions and tips to create your own lion drawing in minutes. Lions, the kings of the jungle, are not just majestic but can also be the cutest little creatures to bring to life on paper. Keep practicing, keep exploring different styles – from realistic to fun cartoon lions – and most importantly, keep enjoying the process. We hope this guide has inspired you to pick up your pencil and start drawing! What kind of lion will you draw first? A fierce king, a playful cub, or a serene lioness? Share your creations in the comments below, or tell us what other animals you'd like to learn to draw easily. Your artistic adventure has just begun!
Lion Drawing Easy Step By Step
Easy Lion Drawing at GetDrawings | Free download

Lion Drawing Easy
