Mastering Mountain Drawing: Your Guide To Majestic Peaks
There's an undeniable allure to mountains, isn't there? Their sheer scale, the dramatic interplay of light and shadow, and the sense of ancient power they exude have captivated artists for centuries. If you've ever felt the urge to translate that majestic beauty onto paper, you're in good company. Learning the art of mountains drawing is a rewarding journey that allows you to capture the grandeur of nature with your own hands.
From the rugged peaks that pierce the clouds to the serene valleys nestled between them, mountains offer an endless source of inspiration. This comprehensive guide will walk you through everything you need to know, from the foundational strokes for beginners to advanced techniques that will make your mountain drawings truly pop. Prepare to embark on an artistic adventure that will transform your understanding and execution of landscape art.
Table of Contents
- The Allure of Mountain Drawing: Why We're Drawn to Peaks
- Understanding Mountain Anatomy: Beyond the Basic Triangle
- Essential Tools for Your Mountain Drawing Journey
- Laying the Foundation: Simple Steps for Beginners
- Bringing Mountains to Life: The Art of Light and Shadow
- Adding Depth and Detail: Beyond the Peaks
- Advanced Techniques for Impressive Mountain Drawings
- Finding Inspiration and Practicing Your Craft
- Conclusion: Your Journey to Drawing Majestic Mountains
The Allure of Mountain Drawing: Why We're Drawn to Peaks
As growing children, many of us instinctively reach for a crayon to sketch landscapes and scenery, and mountains are almost always a part of it. There's something inherently captivating about these colossal landforms. Perhaps it's their enduring presence, their role as silent witnesses to millennia of change, or simply the breathtaking vistas they offer. For artists, mountains present a unique challenge and opportunity: to capture not just their physical form but also their mood, their atmosphere, and the raw power they embody. The journey of drawing mountains is a deeply personal one, allowing you to connect with nature on a profound level and express your interpretation of its grandeur. Whether you're aiming for a simple, stylized peak or a hyper-realistic range, the process of bringing these giants to life on paper is incredibly satisfying.
Understanding Mountain Anatomy: Beyond the Basic Triangle
Before you can truly master mountains drawing, it helps to understand a bit about their natural structure. While a simple triangle might suffice for a child's drawing, realistic mountain art requires a deeper appreciation of their forms and how they interact with their surroundings. This foundational knowledge will empower you to create more convincing and dynamic landscapes.
Peaks, Valleys, and Slopes: Defining the Forms
Every mountain range is a symphony of diverse shapes. You have the prominent peaks, of course, which are the highest points. But equally important are the spaces between them. That space between two mountains is often called a valley. It's like a cozy little nook nestled between two giants, providing a peaceful and serene place for nature to thrive. Understanding how these valleys curve and recede will add immense depth to your drawings. Furthermore, you'll encounter slopes of varying steepness, from gentle inclines to dramatic, sheer cliffs.
It's also useful to differentiate between a single mountain and a larger formation. A mountain is a single, tall landform that rises above its surroundings, distinct and often solitary in its prominence. In contrast, a massif is a large and compact group of mountains, often forming a distinct block within a mountain range. Recognizing these differences will help you conceptualize your compositions, whether you're drawing a lone sentinel or an expansive range.
Geological Wonders: How Mountains Are Formed
While you don't need to be a geologist to draw mountains, a basic understanding of their formation can inform your artistic choices, especially when aiming for realism. Mountains are commonly found near convergent plate boundaries where tectonic plates collide, causing crustal uplift and the formation of mountain ranges. Additionally, mountains can also be found as a result of volcanic activity or erosion. This geological history is what gives mountains their rugged, folded, and often stratified appearance. Thinking about the forces that shaped them can help you render their craggy textures and the flow of their slopes more authentically. Consider how erosion, wind, and water have sculpted the rock over eons, creating the unique character of each peak.
Essential Tools for Your Mountain Drawing Journey
You don't need a vast array of expensive materials to start your mountains drawing adventure. Simplicity is often key, especially for beginners. Here's a basic toolkit:
- Pencils: A range of graphite pencils (HB, 2B, 4B, 6B) will give you versatility for outlines, shading, and dark tones.
- Paper: Good quality drawing paper, preferably with a bit of tooth (texture), will hold graphite well.
- Eraser: A kneaded eraser is excellent for lifting graphite gently and creating highlights, while a plastic eraser is good for crisp clean-ups.
- Blending Stump or Tortillon: These tools help smooth out graphite for seamless shading and atmospheric effects.
- Reference Images: Find and save ideas about mountain drawing on Pinterest, or better yet, observe real mountains if you have the opportunity.
For those interested in exploring different mediums, my new pen & ink drawing workbook offers another fantastic avenue for capturing the intricate details and stark contrasts of mountain landscapes.
Laying the Foundation: Simple Steps for Beginners
This how to draw mountains tutorial is designed to help beginner artists take the next step after learning how to draw basic mountain shapes. We'll start with the fundamental structure and build from there, ensuring your mountains drawing has a solid base.
Starting with the Horizon and Basic Shapes
To begin, draw a horizontally straight line across your paper. This is your horizon line. Dividing the sheet in half, you designate a place in the distance from which the highlands will begin. This establishes the perspective and gives your mountains a grounding point. On the horizon, drawing the first wavy line will start to define the distant peaks. Think of these initial lines as your construction lines – they're not meant to be permanent but rather guides for your final drawing.
Next, draw two mountain peaks on the left and two mountain peaks on the right. These don't have to be perfect; focus on their general shape and placement. In the distance, add two more rocks or smaller peaks to suggest depth and an extended landscape. Remember, there are so many different ways to draw mountains. You can make your mountains with one peak, or several, depending on the scene you envision.
Building Your Mountain Range: From Single Peaks to Massifs
Once you have your basic peaks, start to connect them, thinking about the overall flow of the mountain range. This tutorial is regarding drawing mountains in simple and easy steps for children and beginners, so don't worry about perfection. Focus on getting the general forms down. You'll learn mountain range drawing easy, shading methods, and simple tricks to make your drawings pop. By the end of this blog, you'll know how to draw peaks, valleys, and slopes that look real.
Consider the scale: will your mountains dominate the scene, or will they be part of a larger landscape? You can add snow caps, or leave them off, depending on the climate you're depicting. The versatility of mountains drawing allows for immense creative freedom.
Bringing Mountains to Life: The Art of Light and Shadow
This is where your mountains drawing truly begins to take on dimension and realism. The interplay of light and shadow is crucial for creating the illusion of three-dimensionality. By adding a line down the middle of your mountain shapes, you have a chance to think about how sunlight hits them, which creates mountains with a light side and a dark side.
Imagine your light source – is it coming from the left, the right, or directly overhead? The side of the mountain facing the light will be brighter, while the side in shadow will be darker. And there’s so many different ways you can make the shadows on your mountain drawings. You can use cross-hatching, stippling, or smooth blending to create different textures and depths of shadow. This is especially true over rugged terrains, and mountains in particular, where the varied surfaces catch light in complex ways. Mastering shading methods will make your drawings pop, transforming flat shapes into believable, imposing forms.
Adding Depth and Detail: Beyond the Peaks
A mountain drawing isn't just about the mountains themselves; it's about the entire environment they inhabit. Adding elements around your peaks will enhance realism and create a more engaging scene.
- Foliage: Draw a tree at the foot of the mountain. Trees, especially conifers, are common in mountain regions and help establish scale. Vary their size and shape to add natural diversity.
- Rocks and Terrain: Draw rocks in the right corner or scattered around the base of your mountains. These details add texture and ground your composition. Think about how roads were built over mountains or hills; sometimes the builders couldn't blow up the solid rock, so they just made it over it. This ruggedness can be reflected in your drawing.
- Water Features: Draw a river below the picture, or perhaps a lake reflecting the peaks. Water adds movement, light, and a sense of tranquility to your scene.
- Atmospheric Effects: Consider the weather. According to research at the University of Oklahoma, freezing rain, which can produce ice storms, is most likely to occur throughout the Appalachian Mountains in central North Carolina. Incorporating such weather phenomena, like icy caps or misty clouds, can add drama and realism. Similarly, while a hurricane may hold together better over flat land, such as when it comes onshore around the Gulf of Mexico, the turbulent air currents around rugged mountain terrains can create dramatic cloud formations and atmospheric conditions perfect for drawing.
- Wildlife: While some higher ranges like the Karakoram have very few animals (some large sheep, the Marco Polo sheep, the very rare snow leopard, and some birds here and there), adding a subtle hint of wildlife can bring your scene to life. Perhaps a soaring eagle or a distant deer.
These details can sometimes trip you up, however, so it could be useful to remove a few of them if they make the drawing too cluttered. The goal is balance and visual interest.
Advanced Techniques for Impressive Mountain Drawings
You really want to draw impressive, terrific mountains, don't you? Once you're comfortable with the basics, you can refine your mountains drawing with these advanced tips:
- Seamless Transitions: To finish off your drawing, simply erase any still visible harsh outlines or construction lines. This will result in a seamless and realistic mountain drawing. The goal is for your forms to emerge naturally from the paper, not to be defined by rigid lines.
- Managing Detail: This mountains drawing we created looks amazing with all of its details, but sometimes less is more. Decide which areas to render with high detail and which to keep softer or more implied, especially in the background. This creates a sense of depth and focus.
- Perspective and Aerial Haze: Distant mountains often appear lighter, bluer, and less defined due to atmospheric perspective. Incorporate this "aerial haze" by using lighter pressure or a softer pencil for background peaks.
- Texture and Cragginess: Use small, irregular strokes to suggest the rocky, uneven surfaces of the mountains. Experiment with different pencil pressures to create variations in texture.
- Environmental Impact: Consider how human activity and natural changes affect mountains. The Blue Mountains, for instance, have experienced changes over time due to urban development, climate change, and human activity. Deforestation, increasing temperatures, and tourism have had impacts. While not always directly visible, understanding these dynamics can add a layer of thoughtfulness to your art, perhaps inspiring you to depict mountains in a specific context or mood.
These 3 more tips to make your mountains drawing easy will elevate your work from good to truly exceptional.
Finding Inspiration and Practicing Your Craft
The best way to improve your mountains drawing skills is through consistent practice and observation. Find and save ideas about mountain drawing on Pinterest, explore art drawings, and study how different artists render mountains. Look at photographs, watch documentaries, or, if possible, spend time in nature observing real mountains. Pay attention to how light falls on them at different times of day, how clouds interact with their peaks, and the subtle color shifts in their slopes.
To save time, try making them on artist trading cards (ATCs). These small, 2.5 x 3.5-inch pieces of art are perfect for quick studies and experimenting with new techniques without committing to a large piece. This is a great time saver and encourages frequent practice. Remember, every stroke is a step towards mastery. This is a helpful topic that will give you also the opportunity to have all of this puzzle's answers – the answers to how to draw impressive, realistic mountains.
Conclusion: Your Journey to Drawing Majestic Mountains
You have almost reached the end of our tutorial on how to draw mountains. From understanding the geological forces that shape them to mastering the nuances of light and shadow, you now possess a comprehensive toolkit to create stunning mountain landscapes. We've explored everything from drawing simple peaks and valleys to incorporating intricate details like trees, rivers, and even atmospheric effects.
The journey of mountains drawing is a continuous one, filled with discovery and personal growth. Don't be afraid to experiment, to make mistakes, and to develop your own unique style. The mountains themselves are symbols of endurance and majesty; let them inspire your artistic spirit. Now, pick up your pencil, find a quiet space, and let the peaks guide your hand. What majestic mountain will you draw next? Share your thoughts and creations in the comments below, or explore more of our drawing tutorials to continue your artistic adventure!
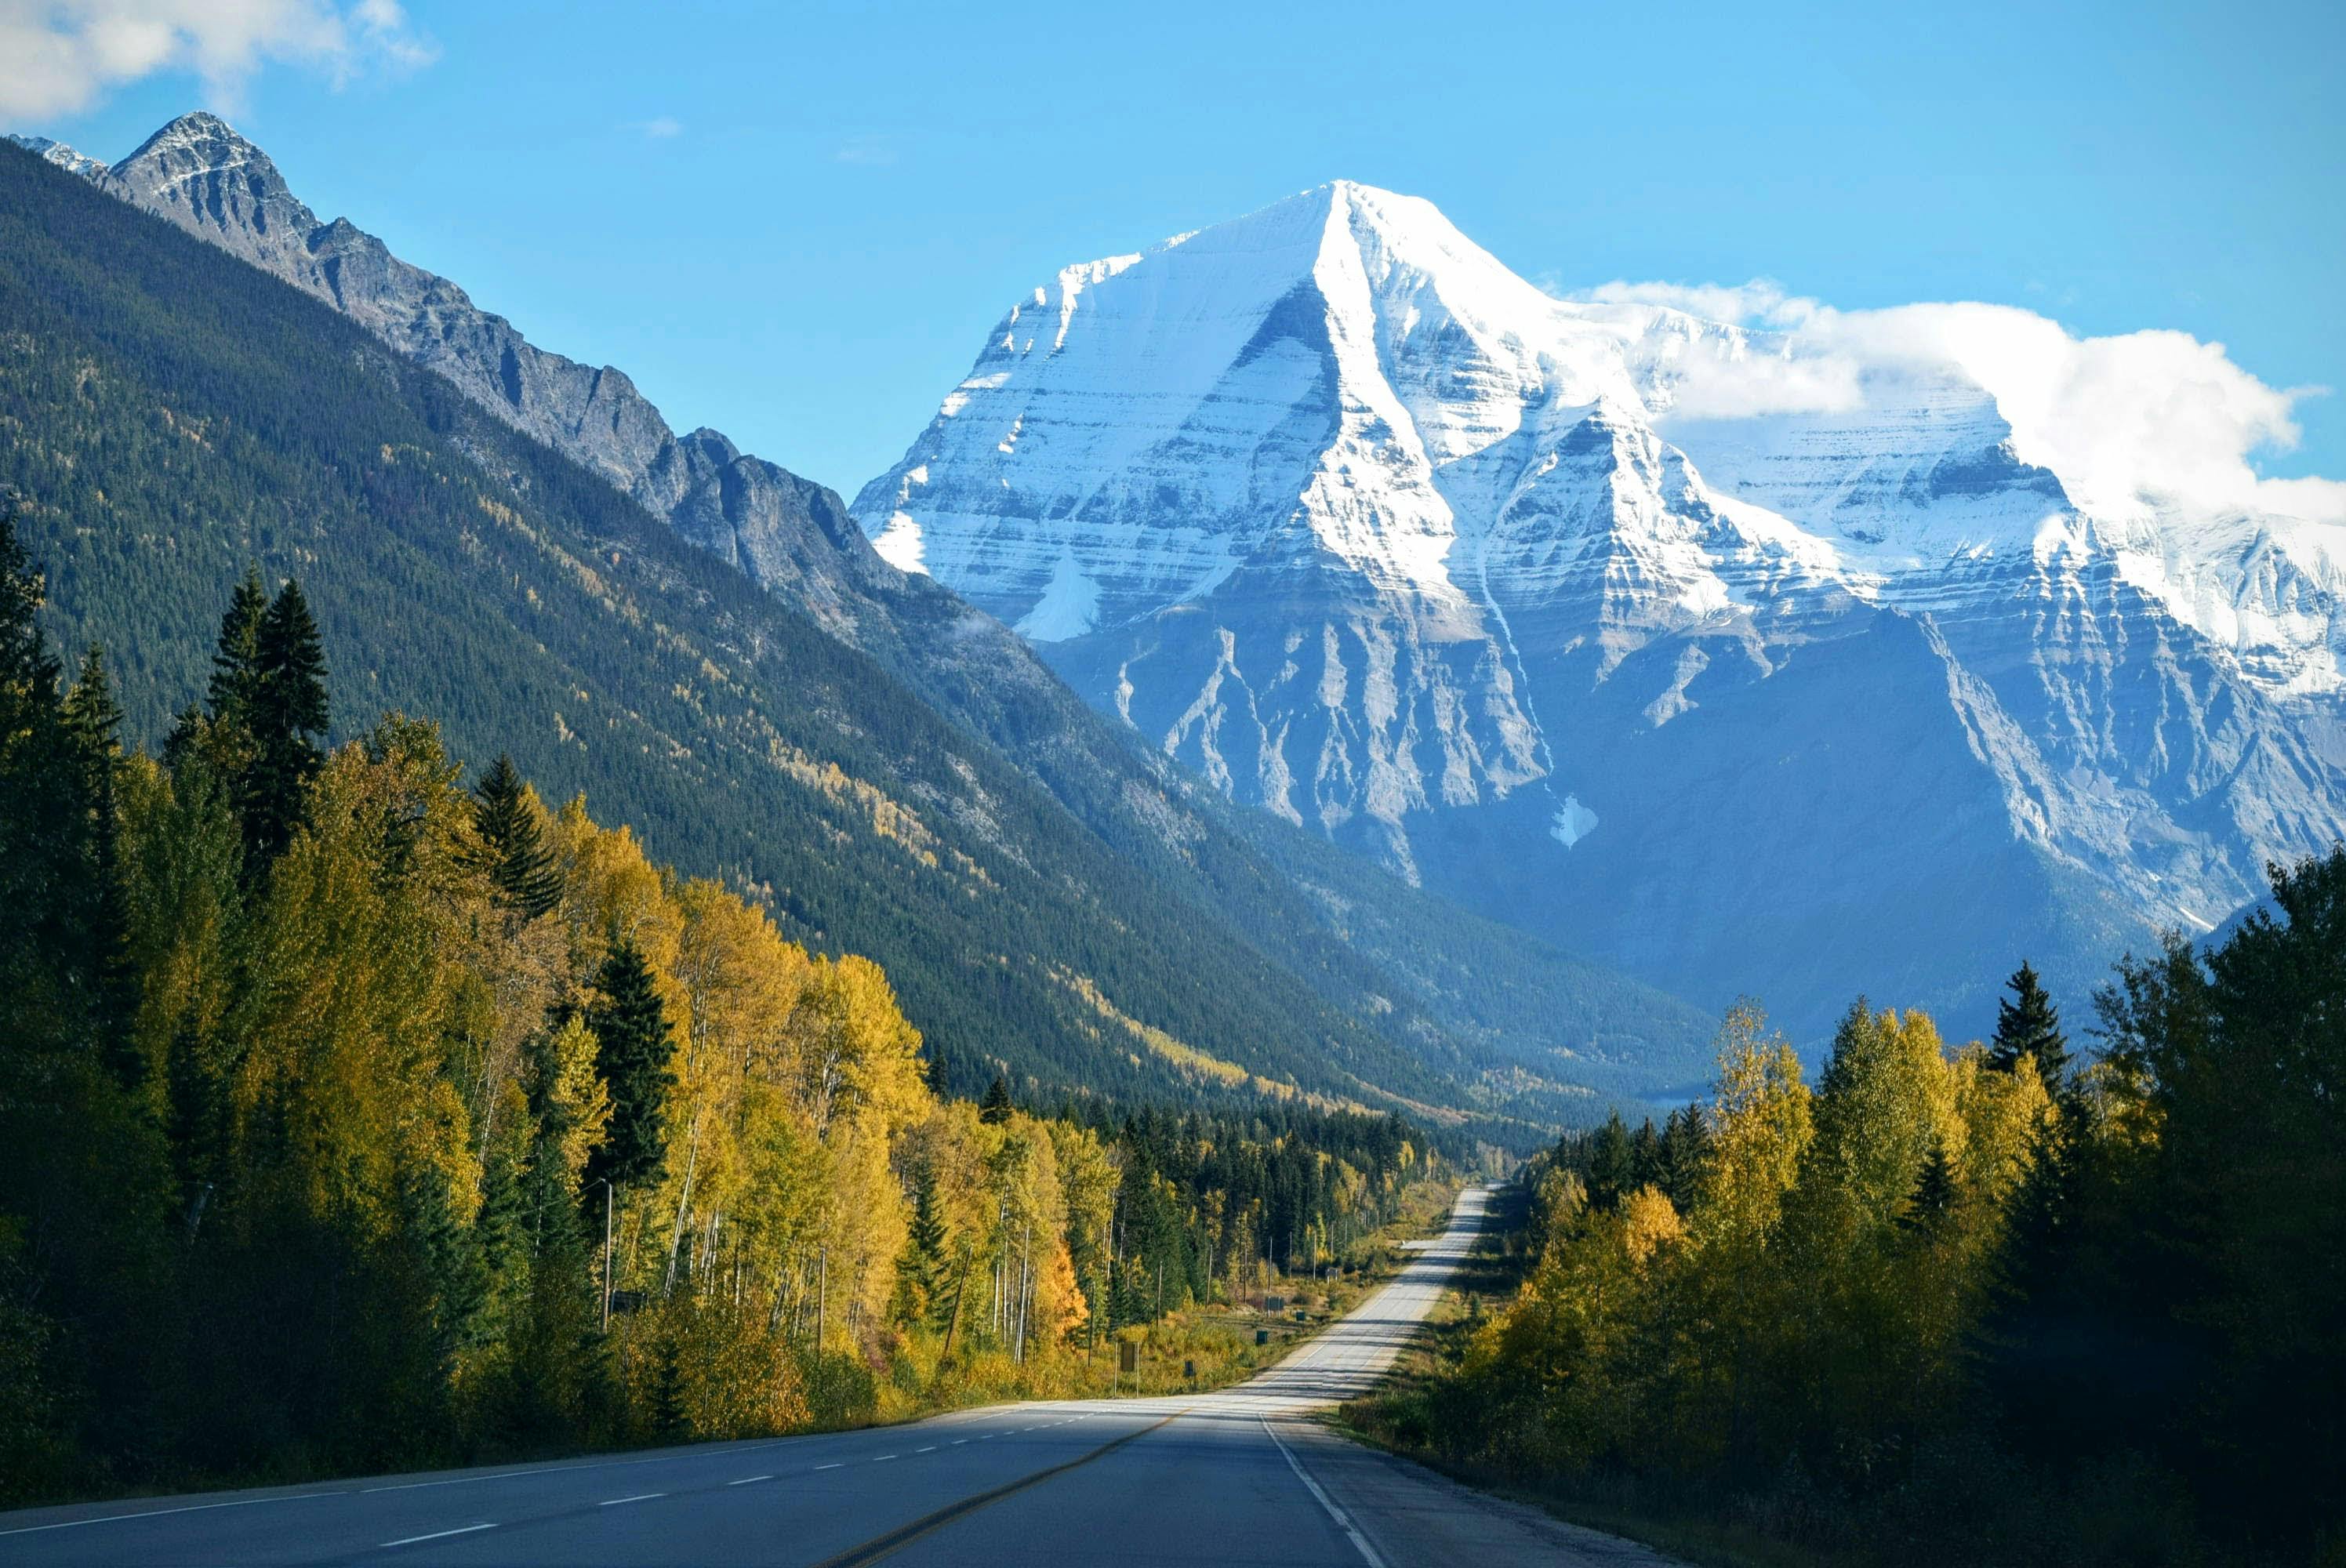
1000+ Beautiful Mountains Photos · Pexels · Free Stock Photos
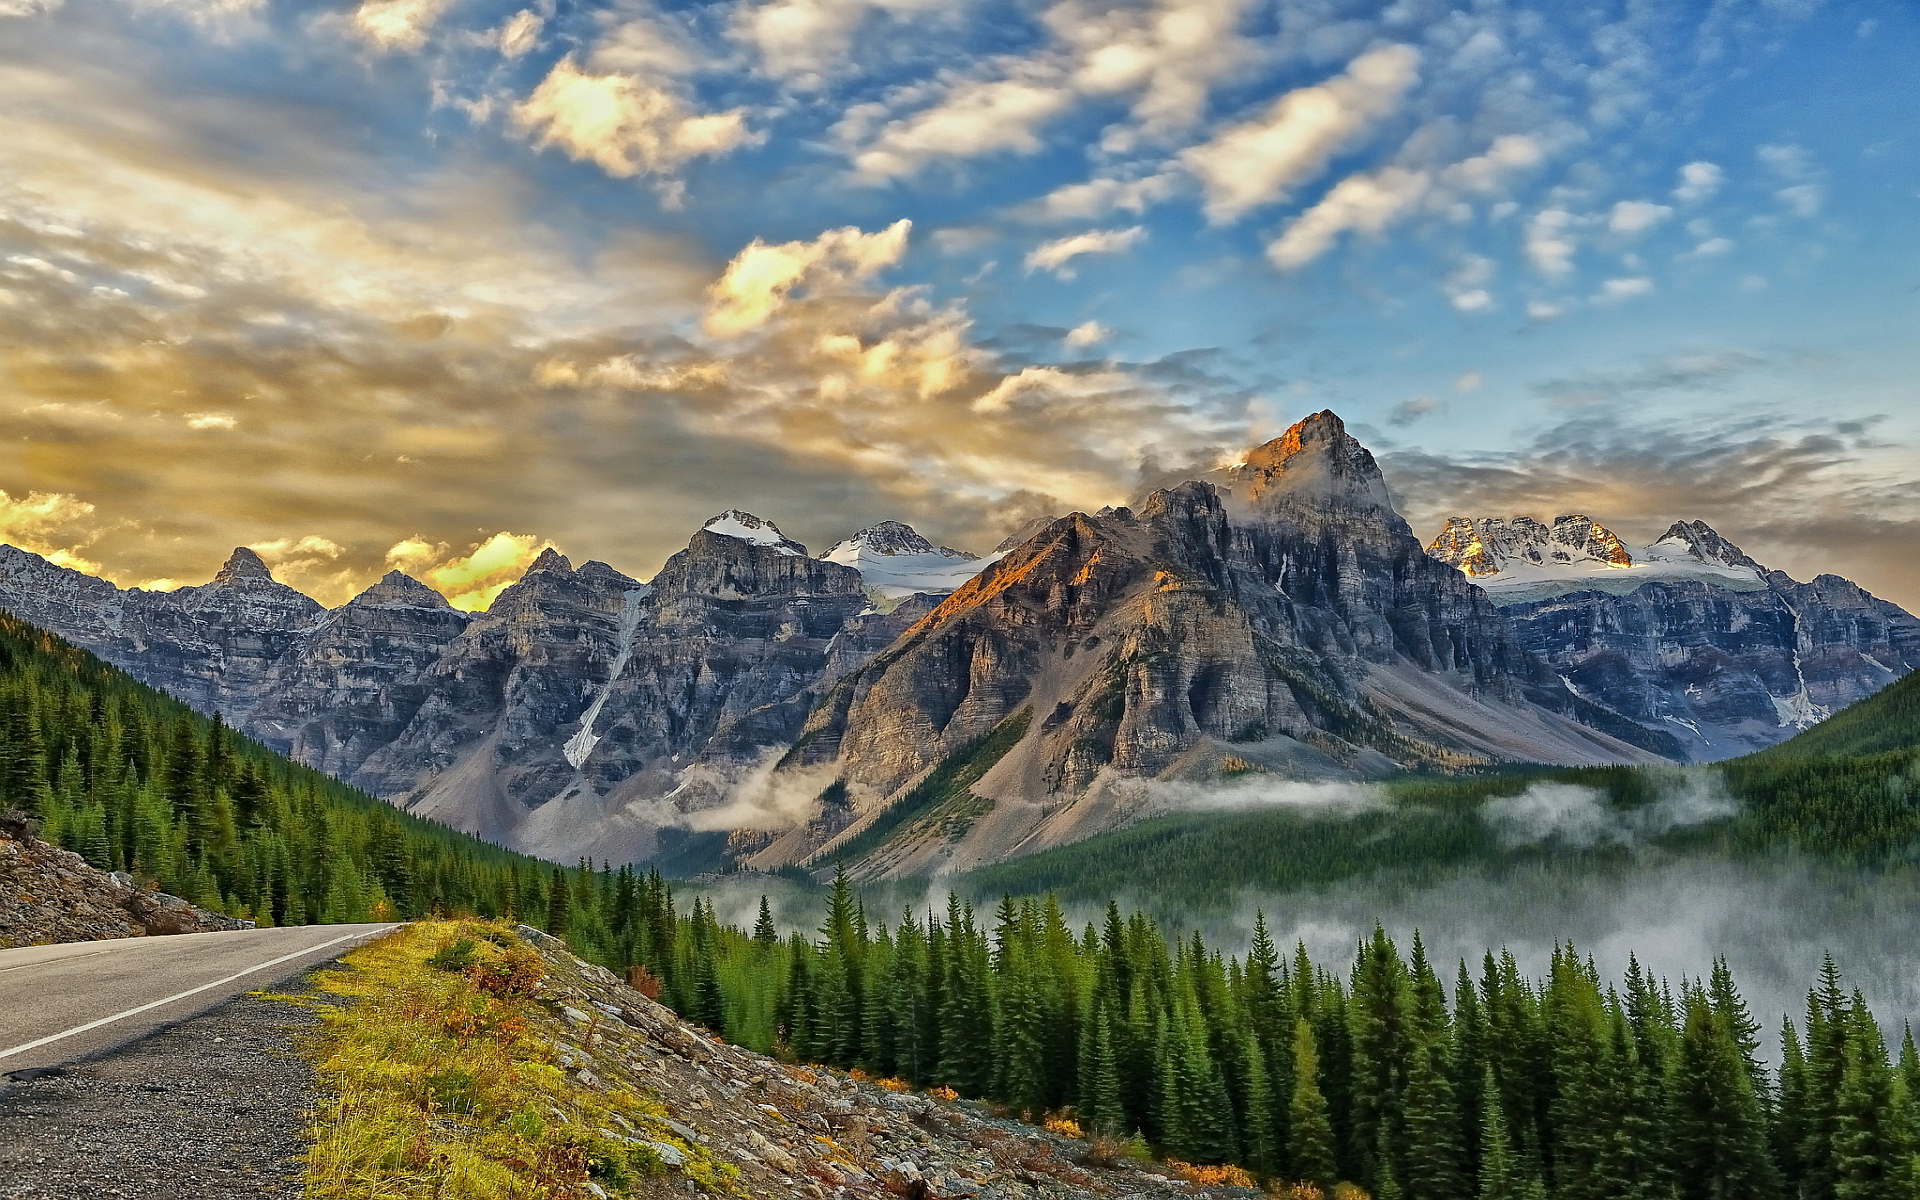
Mountains wallpaper | 1920x1200 | #27278
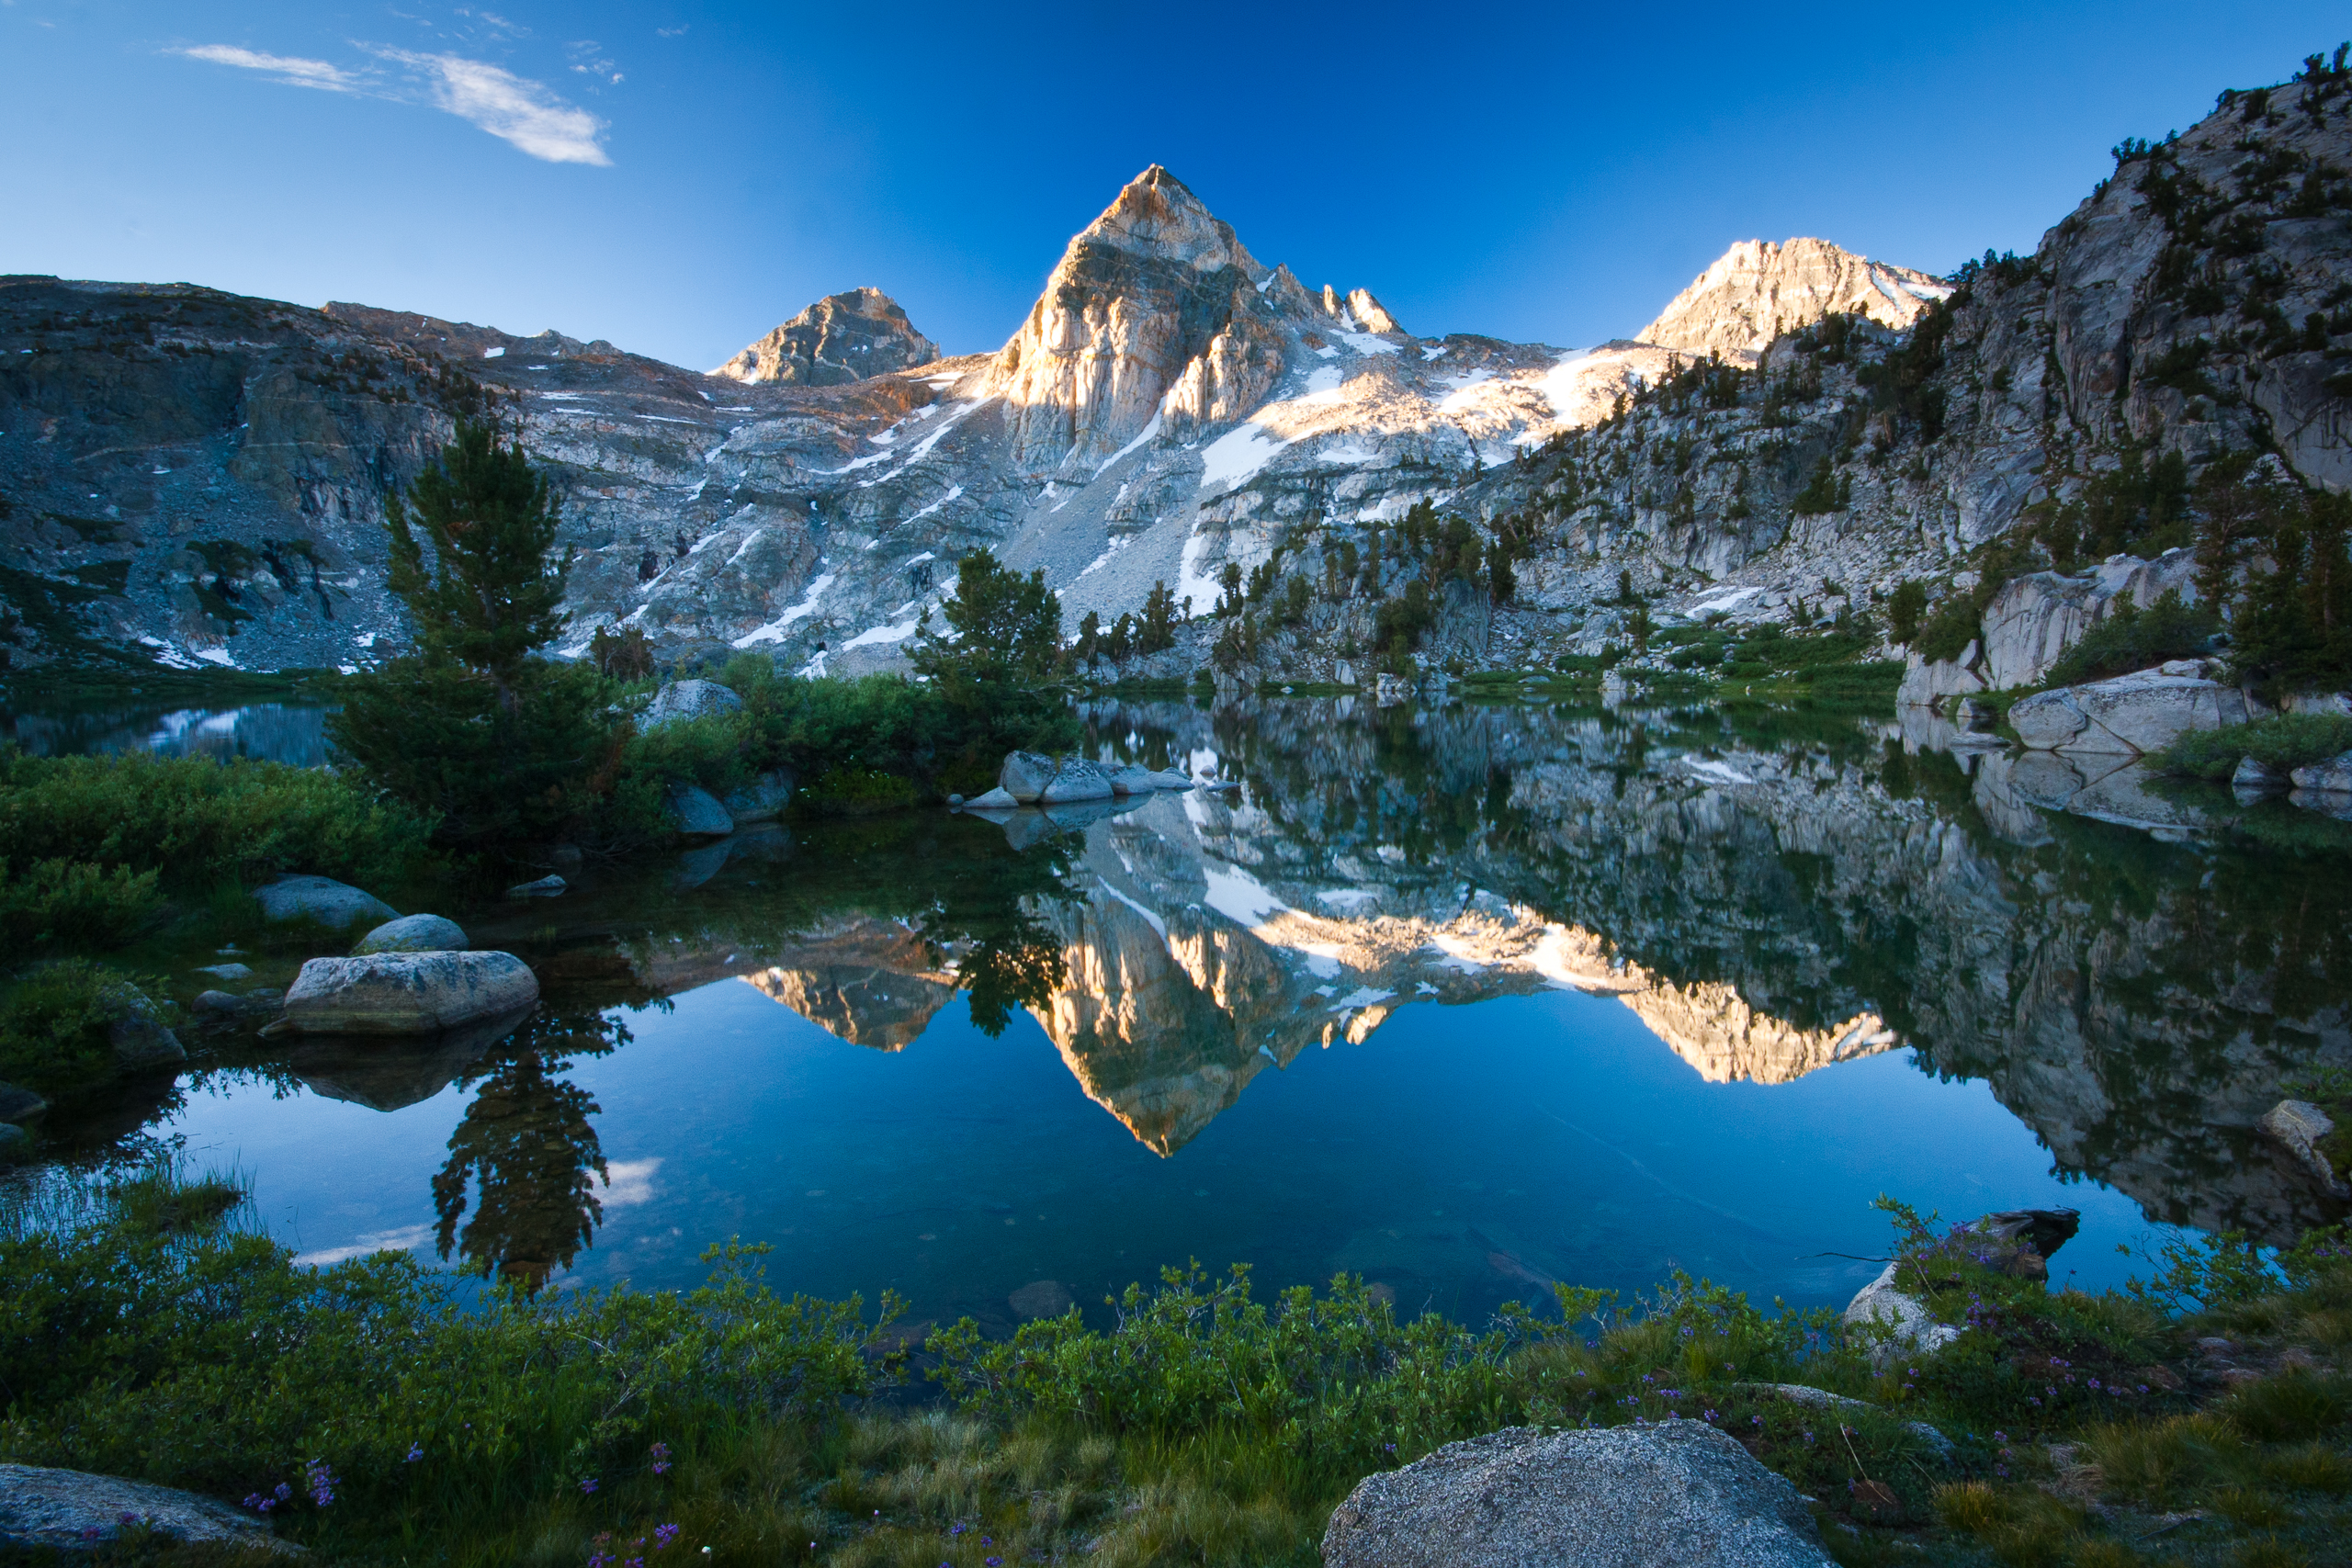
50 Beautiful Mountain Pictures And Wallpapers
